Wine Cork Christmas Tree Instructions: A Comprehensive Guide
Discover a delightful way to repurpose wine corks into charming holiday décor! Explore crafting miniature trees, ornaments, and festive toppers,
as seen on Reddit and wine blogs. Embrace DIY savings and create unique Christmas decorations with these easy-to-follow instructions!
Gathering Your Materials
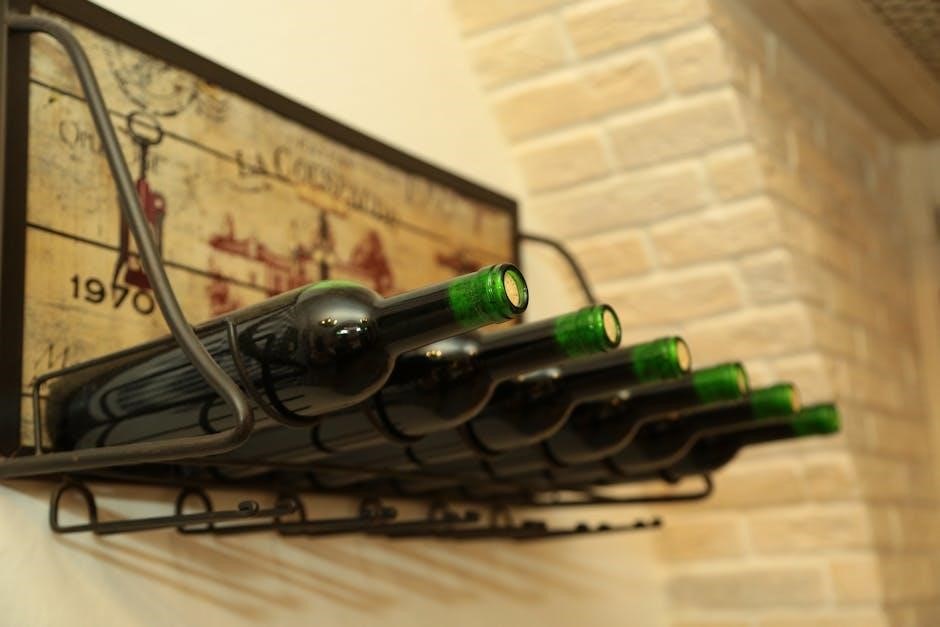
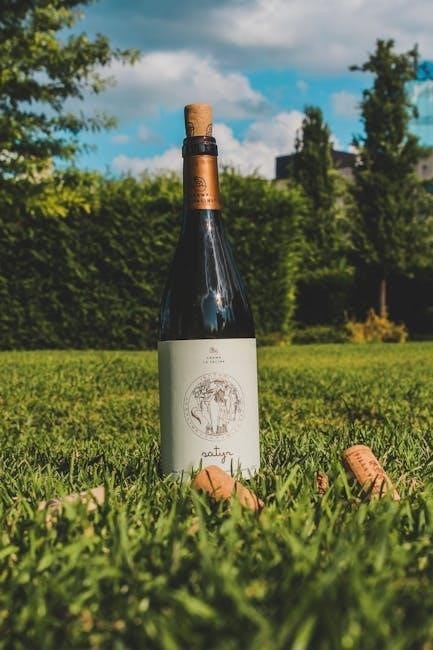
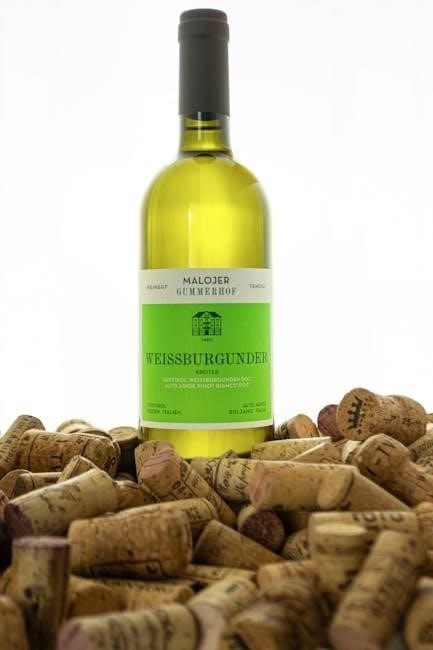
Embarking on your wine cork Christmas tree project begins with a thorough collection of materials. Naturally, you’ll need a substantial number of wine corks – the quantity depends on the desired tree size, but start saving them well in advance! Consider sourcing from friends, family, or local restaurants to expedite the process.
Beyond the corks themselves, essential supplies include a strong adhesive. Both hot glue and craft glue are viable options, each with its own advantages (discussed later). A sturdy base is crucial for stability; options range from a simple cork disc to more elaborate wooden or cardboard foundations.
For decoration, gather paints, glitter, beads, sequins, and miniature ornaments. Small embellishments, like tiny lights, can add a magical touch. Don’t forget basic crafting tools: a craft knife (for minor cork adjustments), scissors, and potentially a ruler or measuring tape to ensure symmetry. Prepare for a fun and creative crafting experience!
Wine Cork Collection & Preparation
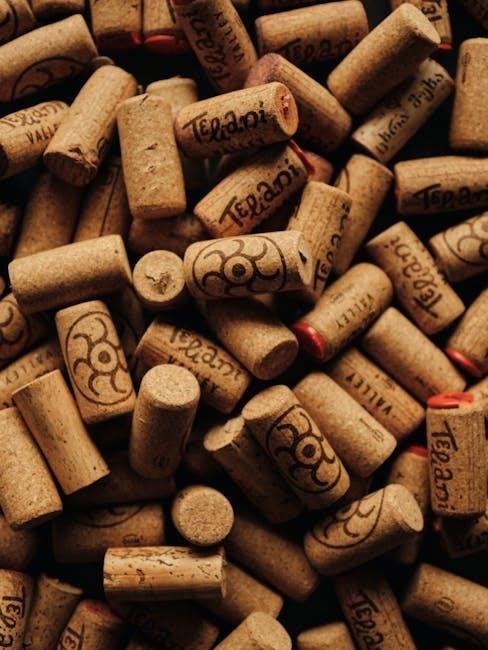
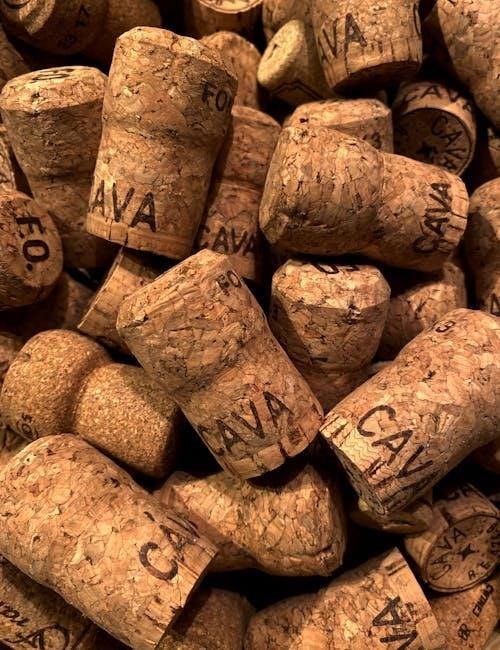
Successfully building a wine cork Christmas tree hinges on a good cork collection. Aim for consistency in cork size and shape, though variations add rustic charm. Natural corks are ideal, but synthetic ones can be incorporated. Thoroughly clean each cork, removing any residual wine stains or debris with a damp cloth. Allow them to dry completely before proceeding.
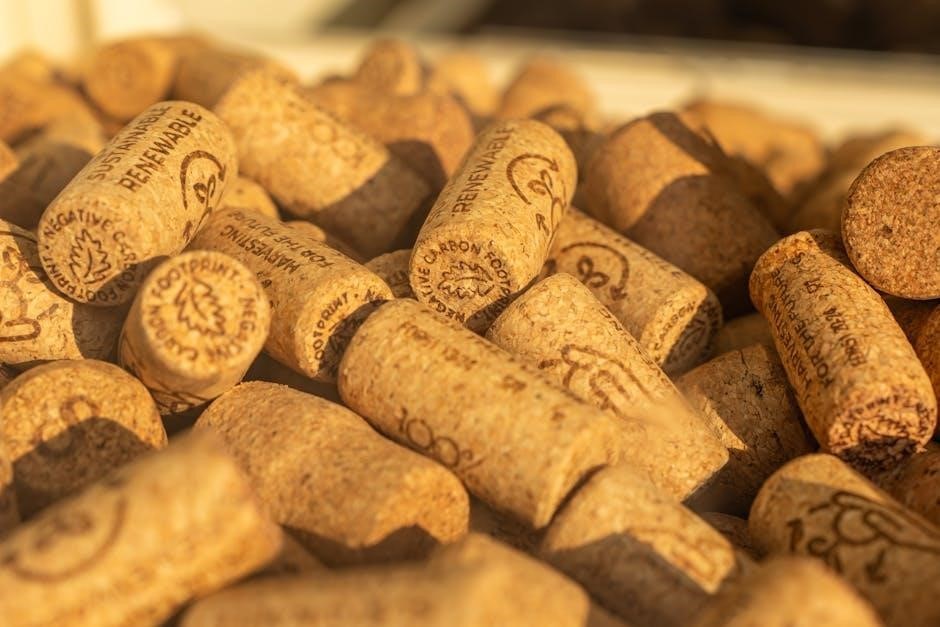
Consider whether you’ll be cutting the corks. Some designs require halved or quartered corks for layering and shaping. If cutting, use a sharp craft knife and exercise caution. Inspect each cork for damage; discard any that are cracked or crumbling. Sorting the corks by size can streamline the building process, ensuring a more uniform tree structure.
Remember, the more corks you have, the larger and more detailed your tree can be. Don’t underestimate the time commitment involved in collecting and preparing this essential material!
Tree Base Options: Cork vs. Other Materials
Choosing the right base is crucial for a stable wine cork Christmas tree. A cork base, constructed from a flattened circle of corks glued together, offers a cohesive and rustic aesthetic. This method utilizes the same material as the tree itself, creating a unified look. However, it may require a significant number of corks and careful construction for adequate stability.
Alternatively, consider using alternative materials like cardboard, wood, or plastic. These provide a more solid foundation, particularly for taller or heavier trees. A wooden base can be easily customized with paint or decorative paper. Cardboard is a budget-friendly option, but may need reinforcement. Ensure the base is appropriately sized to support the tree’s width and weight, preventing tipping.
Ultimately, the best base depends on your desired aesthetic and the tree’s overall size and complexity.
Adhesive Choices: Hot Glue vs. Craft Glue
Selecting the appropriate adhesive is vital for constructing a durable wine cork Christmas tree. Hot glue is a popular choice due to its rapid drying time and strong bond. It allows for quick assembly and holds corks securely in place, ideal for building the conical shape layer by layer. However, be cautious of burns and ensure adequate ventilation.
Craft glue, such as PVA glue, offers a less immediate bond but is generally safer and more forgiving. It allows for adjustments during placement and minimizes the risk of accidental burns. However, it requires longer drying times and may necessitate clamping or support while the glue sets.
Consider the project’s scale and your comfort level with each adhesive. For larger trees or faster construction, hot glue is efficient. For smaller projects or if safety is a primary concern, craft glue is a suitable alternative.
Building the Tree Structure
Begin assembling your festive creation by carefully layering the prepared corks, gradually forming a stable, conical shape for a charming Christmas display!
Layering the Corks: The Foundation
Establishing a solid foundation is crucial for a stable wine cork Christmas tree. Start with a base layer, arranging the corks in a circular pattern. The number of corks in this initial layer will determine the overall width of your tree’s base, so plan accordingly.
Consider using a hot glue gun or craft glue to adhere the corks together, ensuring a secure bond. For the second layer, slightly reduce the number of corks, positioning them snugly within the first layer to begin forming the conical shape.
Continue this process, decreasing the number of corks with each successive layer. Stagger the corks slightly, like bricks in a wall, to enhance stability and create a more visually appealing texture. Remember to maintain a consistent pattern to ensure a symmetrical tree structure. This foundational layering is the key to a beautiful and lasting cork Christmas tree!
Creating the Cone Shape
Achieving the classic Christmas tree silhouette requires careful attention to the cone shape. As you continue layering corks, progressively reduce the circumference of each ring. This gradual decrease is what transforms a simple stack into a recognizable tree form. Visualize a cone and use that as your guide, ensuring each layer is slightly smaller than the one below.
Experiment with angling the corks inwards slightly as you build upwards. This subtle adjustment enhances the conical illusion and adds visual interest. Maintain a consistent angle throughout the construction process for a symmetrical result.
Periodically step back and assess the overall shape. Adjust cork placement as needed to correct any unevenness. Remember, patience is key! Building the cone shape is a gradual process, and small adjustments can make a significant difference in the final appearance of your wine cork tree.
Adjusting Cork Placement for Stability
Ensuring your wine cork Christmas tree stands tall requires careful attention to stability. As the structure grows, it becomes more prone to wobbling or collapsing. Strategically adjust cork placement to counteract imbalances. Consider staggering the corks within each layer, similar to bricklaying, to distribute weight more evenly.
Pay close attention to the base layers; these are crucial for providing a solid foundation. Use a generous amount of adhesive to firmly secure the initial corks. If you notice leaning, gently reposition corks and allow the glue to fully dry before proceeding.
Don’t hesitate to add extra corks to reinforce weak points. Small adjustments during construction can prevent major issues later on. Remember, a stable base and well-distributed weight are essential for a beautiful and lasting wine cork tree!
Decoration & Embellishments
Transform your cork tree with paint, glitter, and ornaments! Add festive sparkle with beads, sequins, and miniature decorations for a personalized, charming Christmas display.
Painting the Corks: Colors & Techniques
Unleash your creativity by painting the wine corks to achieve a stunning visual effect for your Christmas tree. Consider a traditional approach with various shades of green, mimicking a real evergreen. Experiment with ombre effects, transitioning from darker greens at the base to lighter shades towards the top, creating depth and realism.
For a more whimsical look, explore vibrant colors like reds, golds, and silvers, perfect for a festive and eye-catching tree; Acrylic paints work best on cork, providing good coverage and adhesion. Apply thin, even coats to avoid saturating the cork and losing its texture. Allow each coat to dry completely before applying the next.
Techniques like dry brushing can highlight the cork’s natural ridges, adding character. Alternatively, use sponges or brushes to create textured patterns. Don’t be afraid to mix colors and create unique blends. Remember to protect your work surface with newspaper or a drop cloth during painting!
Adding Glitter & Sparkle
Elevate your wine cork Christmas tree with a touch of dazzling glitter and sparkle! Apply a thin layer of craft glue or Mod Podge to the painted corks, focusing on areas where you desire shimmer. Generously sprinkle fine or chunky glitter over the glued surfaces, ensuring full coverage. Gently shake off any excess glitter, allowing it to adhere firmly to the cork.
For a snow-kissed effect, use white or iridescent glitter. Consider color-coordinating the glitter with your chosen paint scheme for a cohesive look. Experiment with glitter glue for easier application and less mess. Alternatively, brush glitter onto the corks using a soft brush, creating a subtle shimmer.
Seal the glitter with a clear acrylic spray to prevent shedding and ensure long-lasting sparkle. This step is particularly important if you plan to handle the tree frequently. Remember to work in a well-ventilated area when using spray sealants!
Miniature Ornament Attachment
Enhance your wine cork Christmas tree with charming miniature ornaments! Utilize small, lightweight ornaments – beads, sequins, tiny bells, or even handcrafted cork ornaments – to adorn your creation. Employ a strong adhesive, such as hot glue or craft glue, to securely attach the ornaments to the corks.
Strategically position the ornaments, distributing them evenly around the tree for a balanced appearance. Consider varying the size and color of the ornaments to add visual interest. For a whimsical touch, attach ornaments with ribbon or twine, creating hanging accents. Ensure the glue is completely dry before handling the tree.
Experiment with different ornament styles to match your desired aesthetic – traditional, rustic, or modern. Remember to prioritize lightweight ornaments to prevent the tree from becoming unstable. A little creativity goes a long way in transforming your cork tree into a festive masterpiece!
Using Beads & Sequins for Detail
Elevate your wine cork Christmas tree’s aesthetic with the delicate sparkle of beads and sequins! Apply these embellishments to add subtle shimmer and intricate detail to the corks. Utilize craft glue to carefully adhere beads and sequins, creating patterns or random, glittering accents.
Consider outlining the edges of the corks with sequins for a defined look, or cluster beads to resemble miniature ornaments. Experiment with different colors and sizes of beads and sequins to achieve your desired effect. For a snow-kissed appearance, use iridescent white or silver sequins;
Remember to work in small sections, allowing the glue to dry completely before moving on. A light touch is key – avoid overdoing it to maintain the tree’s rustic charm. These small details can transform a simple cork tree into a truly enchanting holiday decoration!

Variations & Styles
Unleash your creativity with diverse tree designs! Explore traditional green, snow-covered, rustic, and modern minimalist styles, adapting the cork tree to your personal taste.
Traditional Green Tree Design
For a classic Christmas aesthetic, embrace the traditional green wine cork tree. Begin by painting your wine corks in varying shades of green – from deep forest to lighter, spring-like hues – to mimic the natural color variations of a real evergreen. Layer these painted corks, starting with a wider base and gradually decreasing in circumference as you build upwards, forming a conical shape.
Consider using different sized corks to add visual interest and texture. Secure the corks with hot glue or craft glue, ensuring a stable structure. Once the tree’s basic form is established, embellish it with miniature ornaments, tiny beads resembling baubles, and perhaps a dusting of faux snow for a wintery touch. A small star or angel topper completes the look, evoking the spirit of a classic Christmas tree. This style is wonderfully versatile and provides a charming, rustic centerpiece for your holiday décor.
Snow-Covered Cork Tree
Transform your wine cork creation into a winter wonderland with a snow-covered design! Begin by painting the corks white, or a very light cream, to simulate a blanket of fresh snow. Once dry, lightly dust the entire tree with iridescent glitter or faux snow flocking, concentrating more heavily at the tips of the “branches” to enhance the snow-laden effect.
For added realism, consider attaching tiny, frosted berries or miniature pinecones to the corks. A delicate scattering of silver or white beads can also mimic glistening ice crystals. Instead of traditional ornaments, opt for miniature snowflakes or frosted figurines. Finish the tree with a snowflake topper or a cluster of frosted branches. This design evokes a serene and magical winter scene, perfect for a cozy holiday display.
Rustic & Natural Cork Tree
Embrace the charm of the countryside with a rustic and natural cork Christmas tree! Leave the corks in their original, wine-stained state to showcase their natural texture and character. Avoid painting or excessive embellishments, allowing the cork’s inherent beauty to shine through.
Enhance the rustic aesthetic by incorporating natural elements like twine, burlap ribbon, or small sprigs of evergreen. Attach miniature wooden ornaments, such as stars or hearts, using twine or thin wire. Consider adding tiny pinecones or dried orange slices for a touch of woodland fragrance. A simple star made from twigs or a burlap bow serves as a perfect tree topper. This design celebrates simplicity and the beauty of natural materials, creating a warm and inviting holiday centerpiece.
Modern & Minimalist Cork Tree

Achieve a sleek and sophisticated look with a modern, minimalist cork Christmas tree. Opt for a monochromatic color scheme, painting the corks in shades of white, silver, or gray for a contemporary feel. Focus on clean lines and avoid excessive ornamentation, embracing the “less is more” philosophy.
Utilize geometric shapes and metallic accents to enhance the modern aesthetic. Attach small, silver or gold beads sparingly, or use thin wire to create simple geometric patterns on the tree. A minimalist star or a single, elegant ribbon at the top completes the look. This design is perfect for those who prefer a subtle and understated holiday decoration, blending seamlessly with contemporary home décor. Embrace simplicity and refined elegance!
Advanced Techniques
Elevate your cork tree with spiral designs, integrated lighting, and stunning toppers! Explore intricate patterns and illuminate your creation for a magical, festive display.
Creating a Spiral Cork Tree
Embark on a more challenging, yet visually striking, wine cork Christmas tree project by constructing a spiral design. Unlike the traditional conical shape, a spiral tree winds upwards, creating a dynamic and modern aesthetic. Begin with a sturdy base, ensuring it can support the twisting structure.
Instead of layering corks in concentric circles, arrange them in a continuous, ascending spiral. This requires careful planning and potentially a temporary support structure during the initial stages of construction. Hot glue is recommended for its quick-drying properties, allowing you to maintain the spiral form as you build.
Consider varying the angle of the corks slightly as you ascend to enhance the spiral effect. This subtle adjustment adds depth and visual interest. The spiral design often requires more corks than a traditional tree of similar height, so ensure you have an ample supply. Finally, embellish with lights and ornaments that complement the flowing, organic shape of your unique creation!
Incorporating Lights into the Tree
Transform your wine cork Christmas tree into a radiant centerpiece by skillfully integrating lights. Miniature fairy lights, specifically LED options, are ideal due to their low heat output, preventing any damage to the cork material. Strategically weave the lights between the corks, rather than wrapping them around the exterior, for a more subtle and enchanting glow.
Begin at the base of the tree and work your way upwards, carefully tucking the light string into the gaps between the corks. Secure the lights with small dabs of hot glue if needed, ensuring the adhesive doesn’t become visible. Consider using battery-operated lights to avoid unsightly cords and offer greater placement flexibility.
Experiment with different lighting effects – twinkling, fading, or steady illumination – to achieve your desired ambiance. Remember to conceal the battery pack discreetly within the tree’s base for a polished finish. As suggested by online crafting communities, tiny lights truly elevate the tree’s charm!
Adding a Tree Topper
Complete your wine cork Christmas tree with a captivating topper that reflects your personal style. A miniature star, crafted from wire and adorned with beads or sequins, provides a classic and elegant finish. Alternatively, create a unique topper using additional wine corks – perhaps a small, spiraled tree or a festive bow.
Consider repurposing ornaments from previous years, selecting one that complements the tree’s overall aesthetic. As seen in online crafting discussions, miniature versions of traditional toppers work exceptionally well. Secure the topper firmly to the apex of the tree using hot glue, ensuring it’s balanced and stable.
For a whimsical touch, fashion a topper from felt or fabric, incorporating elements like snowflakes or angels. Remember to scale the topper appropriately to the tree’s size, maintaining visual harmony. A well-chosen topper elevates the entire creation, making it a truly stunning centerpiece!
Beyond the Tree: Cork Ornament Ideas
Extend the festive fun by crafting charming ornaments! Create reindeer, snowflakes, angels, and miniature trees from wine corks, as showcased on various wine blogs and crafting sites.
Wine Cork Reindeer Ornaments
Transform humble wine corks into adorable reindeer ornaments, adding a rustic touch to your Christmas tree! Begin by gluing two corks together lengthwise to form the reindeer’s body. For the head, attach a smaller cork piece, angling it slightly forward.
Next, fashion antlers from trimmed twigs or creatively shaped brown pipe cleaners, securing them firmly into the head cork. Utilize small brown pom-poms for the ears, attaching them on either side of the head. A tiny red pom-pom serves as the reindeer’s nose, adding a pop of color.
For the eyes, employ googly eyes or carefully paint small black dots. Enhance the design with a festive ribbon tied around the reindeer’s neck, completing this charming and eco-friendly ornament. These delightful reindeer bring a whimsical, handmade feel to your holiday decorations!
Cork Snowflake Ornaments
Create stunning snowflake ornaments using wine corks, bringing a touch of winter wonderland to your Christmas tree! Begin by cutting the corks in half lengthwise, creating flat surfaces for easier manipulation. Arrange six cork halves in a snowflake pattern, ensuring the cut sides face outwards.
Securely glue the cork pieces together at their points of contact, forming the snowflake’s delicate structure. Once the glue is dry, embellish the snowflake with shimmering glitter, adding a festive sparkle. Consider using white or silver glitter for a classic winter look.
Alternatively, paint the cork snowflakes with metallic paints or add small beads for extra detail. Attach a loop of ribbon or twine to one of the snowflake’s arms for easy hanging. These elegant cork snowflakes offer a unique and eco-friendly alternative to traditional ornaments!
Miniature Cork Christmas Trees as Ornaments
Craft adorable miniature Christmas trees from wine corks to adorn your tree! Begin by gluing corks together, starting with a base of three or four, then layering upwards in a pyramid shape, decreasing the number of corks with each layer. Utilize hot glue for a quick and secure bond, ensuring stability.
Once the tree structure is complete, paint it a festive green or leave it natural for a rustic look. Embellish with tiny beads to resemble ornaments, or use glitter for a sparkling effect. A small star bead or sequin can serve as the perfect tree topper.
Attach a loop of ribbon or twine to the top of the tree for hanging. These charming miniature cork trees make delightful ornaments, adding a whimsical touch to your holiday décor, inspired by patterns found online!
Cork Angel Ornaments
Create enchanting cork angel ornaments for a heavenly touch to your Christmas tree! Begin with a single cork for the angel’s head, and glue two or three corks together for the body, forming a slightly tapered shape. Utilize small wings crafted from felt, paper, or even repurposed wine labels, attaching them securely to the back of the cork body.
For the angel’s hair, consider using yarn, embroidery floss, or shredded paper. Paint a delicate face onto the head cork, adding details like eyes and a rosy blush. A tiny bead can represent a halo, adding a celestial glow.
Finally, attach a loop of ribbon or twine to the top for hanging. These charming cork angels bring a touch of handmade elegance to your holiday decorations, inspired by various DIY ornament ideas!