Motion Sensor Light Switch with Manual Override: A Comprehensive Guide
Discover how to install and utilize a motion sensor light switch featuring a manual override, boosting your home’s convenience and energy savings with expert guidance.
Understanding Motion Sensor Light Switches
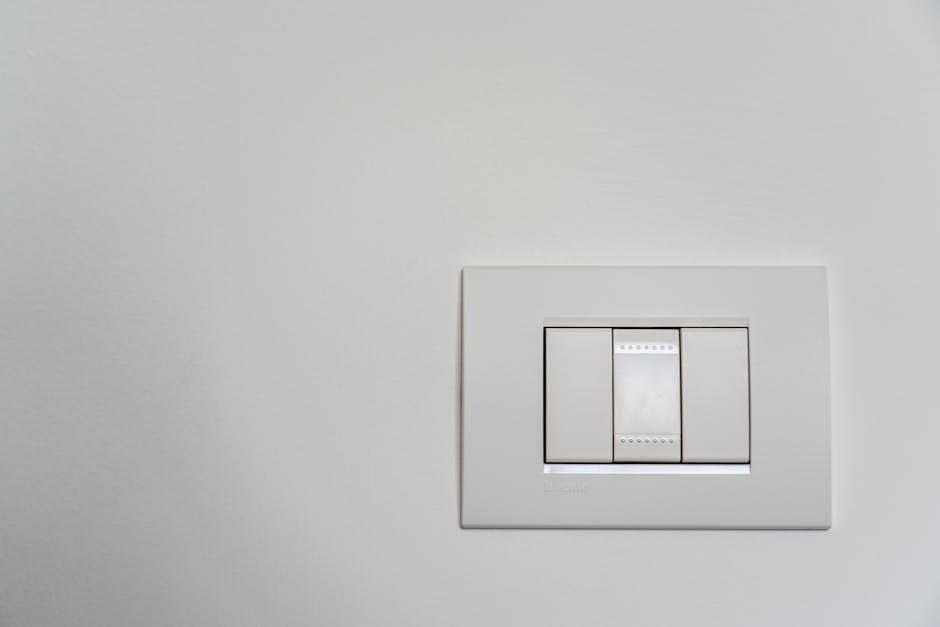
Motion sensor light switches are designed for automated illumination, activating lights upon detecting movement within a specified range. These devices enhance security and convenience, eliminating the need to manually switch lights on and off. However, sometimes automatic operation isn’t desired; this is where the manual override function becomes invaluable. These switches utilize various sensor technologies, commonly passive infrared (PIR), to detect changes in heat signatures.
Understanding how these sensors function is crucial for effective installation and troubleshooting. They are typically adjustable, allowing customization of detection range, hold time (how long the light stays on after motion is detected), and daylight threshold (sensitivity to ambient light). Properly configured, motion sensor switches contribute significantly to energy efficiency and a more comfortable living environment.
How Manual Override Functions Work
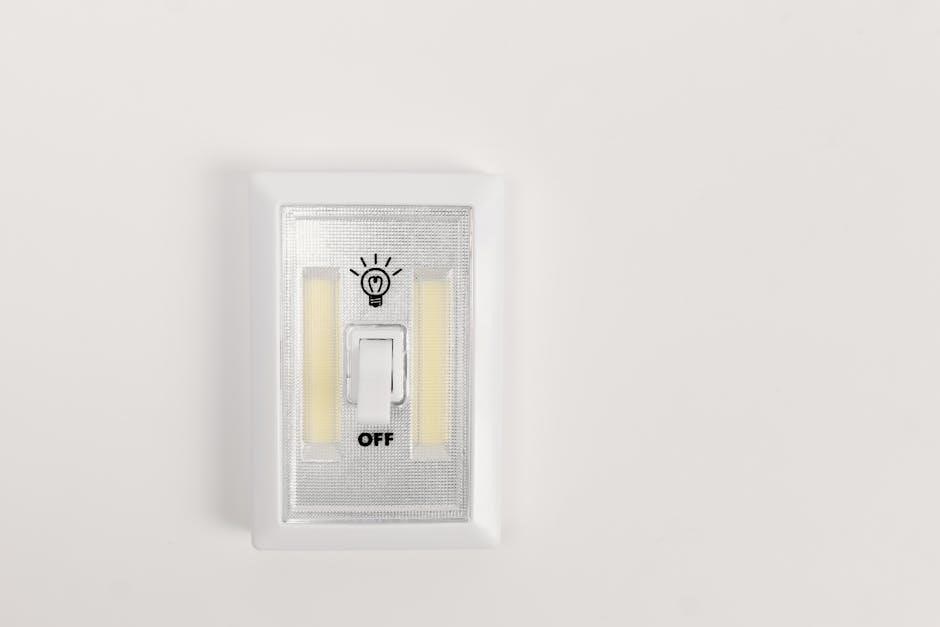
The manual override feature temporarily bypasses the motion sensor’s automatic control, allowing the light to be operated like a traditional switch. This is achieved through various methods, including quickly toggling the switch on and off within a short timeframe – often less than a second – to maintain continuous illumination. Alternatively, some switches incorporate a dedicated override button or utilize DIP switches for configuration.
When activated, the override function keeps the light on regardless of detected motion, providing consistent lighting for tasks or situations where automatic operation is inconvenient. To revert to motion-sensing mode, the switch typically requires being turned off for a specified duration, like ten seconds, before being reactivated.
Benefits of a Manual Override Feature
A manual override offers significant convenience and control, eliminating the frustration of lights unexpectedly turning off during activities. It’s ideal for extended tasks, gatherings, or when a consistently lit space is preferred, bypassing the sensor’s timed operation. This feature also proves invaluable for troubleshooting, confirming if the sensor itself is functioning correctly by directly controlling the light.
Furthermore, the override function enhances security by allowing you to maintain illumination when needed, deterring potential intruders. It provides peace of mind, ensuring light availability without relying solely on motion detection, especially in areas prone to false triggers or limited movement.
Types of Motion Sensor Switches with Override
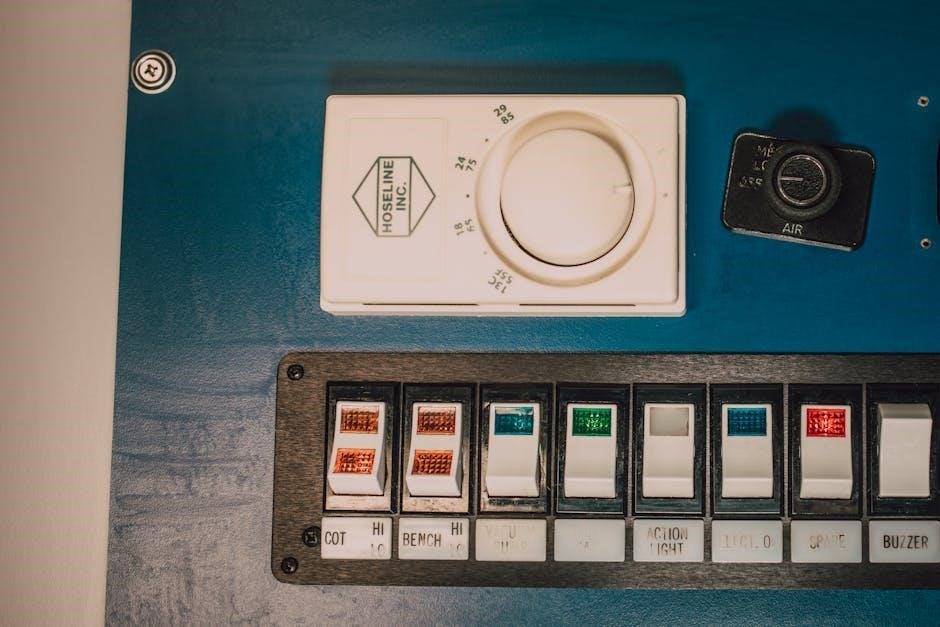
Motion sensor switches with manual override come in various configurations, primarily differing in their wiring setup and control mechanisms. Single-pole switches are suitable for controlling a light from one location, while three-way switches allow control from two locations, offering greater flexibility. Utilizing a double-pole switch provides enhanced control, separating circuits for emergency/night lights and general area lighting.
Control methods also vary; digital switches often feature electronic settings and displays, while those with DIP switches utilize physical switches for configuration. Understanding these distinctions is crucial for selecting the appropriate switch for your specific needs and existing wiring infrastructure.
Single-Pole vs. Three-Way Switches
Single-pole switches are the standard, controlling a light fixture from a single location – ideal for simple installations where convenience isn’t paramount. However, for areas requiring control from two points, like hallway entrances or stairwells, three-way switches are essential. These require a different wiring configuration, involving traveler wires connecting the two switches.
When integrating a motion sensor with manual override, the choice impacts wiring complexity. A single-pole setup is straightforward, while three-way installations demand careful attention to maintain both motion-sensing and manual control functionality. Selecting the correct switch type ensures seamless operation and avoids frustrating wiring issues.

Digital vs. DIP Switch Control

Motion sensor switches offer two primary methods for customization: digital interfaces and DIP switches. Digital models feature electronic displays and button controls, providing a user-friendly way to adjust settings like sensitivity, hold time, and daylight thresholds. This offers precise control and often includes pre-programmed modes for various applications.
Conversely, DIP switches are small physical switches on the circuit board, requiring a screwdriver or similar tool for adjustment. While less intuitive, DIP switches are often more reliable and less prone to electronic failure. Understanding the configuration of these switches is crucial for fine-tuning sensor performance, allowing customization of detection range and auto-on disabling.
Installation Considerations
Proper installation is paramount for optimal performance and safety when integrating a motion sensor light switch with manual override. Before beginning, always disconnect power at the breaker to avoid electrical shock. Carefully review the manufacturer’s wiring diagram, as configurations vary between models. Utilizing a double-pole switch can enhance control, dedicating one pole to emergency/night lighting and the other to general area illumination, ensuring the occupancy sensor operates from the same breaker.
Basic setup involves connecting the line, load, and neutral wires correctly. Remember that bypassing the sensor in manual mode requires careful wiring to ensure functionality. Always double-check connections before restoring power.

Wiring a Motion Sensor with a Manual Override – Basic Setup
Begin by disconnecting power at the breaker. Identify the line (hot), load, and neutral wires. Connect the line wire to the common terminal of a double-pole switch. One pole feeds the emergency/night light directly, while the other connects to the motion sensor’s line input. The sensor’s load output then connects to the light fixture.
The neutral wires are typically connected together. Ensure all connections are secure. A crucial aspect is ensuring the occupancy sensor for the night light is powered by the same breaker as the main lighting circuit. This setup allows for seamless switching between motion-activated and manual control.
Using a Double-Pole Switch for Enhanced Control
Employing a double-pole switch provides superior control when integrating a motion sensor with a manual override. Both poles receive the same hot conductor; one pole exclusively powers the emergency/night/entrance light, while the other feeds the broader area lighting. This segregation allows independent control of these light sources.
Critically, ensure the night light’s occupancy sensor is on the same breaker. This configuration enables bypassing the main motion sensor for constant illumination. The double-pole switch effectively creates two separate circuits, offering flexibility and redundancy in lighting control, enhancing both convenience and safety.
Bypassing the Motion Sensor: Quick Override Methods
For temporary bypassing of the motion sensor, a rapid switch manipulation can often override the automatic detection. Quickly toggling the light switch on and off within a short timeframe – approximately one second – can force the light to remain illuminated, effectively disabling motion sensing.
To revert to normal, automated operation, simply turn the switch off and wait for a ten-second interval before switching it back on. This resets the system, re-enabling motion detection. This method offers a convenient, immediate solution for situations requiring constant light without altering permanent settings.
Resetting Your Motion Sensor Switch
Occasionally, a motion sensor switch may require a reset to restore optimal functionality. This is particularly useful if the sensor is behaving erratically or failing to respond to motion as expected. A simple power cycle is often the most effective reset method.
Turn off the circuit breaker supplying power to the switch. Wait for approximately ten seconds to ensure a complete power loss. Then, restore power by switching the breaker back on. This process clears the sensor’s memory and returns it to its default settings, resolving many common operational issues. Following a reset, re-test the sensor’s functionality.
Adjusting Sensor Settings with DIP Switches
Many motion sensor switches utilize DIP switches – small, physical switches – to customize their behavior. These allow precise control over detection range, hold time (how long the light stays on after motion is detected), and daylight threshold (the level of ambient light required to activate the sensor);

Refer to your switch’s manual to understand the function of each DIP switch. Adjusting the detection range limits the area the sensor monitors, reducing false triggers. Modifying the hold time determines the light’s duration. Configuring the daylight threshold ensures the sensor only activates when needed, conserving energy. Careful adjustment optimizes performance.
Setting Detection Range
Adjusting the detection range is crucial for optimal motion sensor performance. A wider range covers more area but increases the risk of false triggers from passing cars or animals. A narrower range focuses on the intended zone, minimizing unwanted activations. DIP switches typically control this setting, offering options like limited, medium, or maximum range.
Experiment with different settings to find the sweet spot for your location. Consider the layout of the area and potential sources of interference. Reducing the range can significantly improve reliability and prevent unnecessary light activation, ultimately enhancing energy efficiency and user experience.
Adjusting Hold Time (Light Duration)
Hold time dictates how long the light remains illuminated after motion ceases. Shorter durations conserve energy, ideal for quick passages, while longer durations provide extended visibility for tasks or security. DIP switches commonly manage this setting, offering choices ranging from a few seconds to several minutes.
Consider the intended use of the light. For hallways or entryways, a shorter hold time might suffice. However, for areas requiring prolonged illumination, like garages or workshops, a longer duration is preferable. Fine-tuning the hold time balances convenience, security, and energy conservation, ensuring optimal performance.
Configuring Daylight Threshold
Daylight threshold settings prevent the motion sensor from activating lights when sufficient ambient light is present, maximizing energy efficiency. These switches utilize a built-in light sensor to measure surrounding illumination levels. Adjusting the threshold determines the darkness level required for the light to activate upon detecting motion.
DIP switches often control this feature, offering various sensitivity levels. A higher threshold means the light will only turn on in darker conditions, while a lower threshold allows activation even with some daylight. Proper configuration ensures lights aren’t unnecessarily activated during bright days, saving energy and extending bulb life.
Troubleshooting Common Issues
Encountering problems with your motion sensor light switch? Two frequent issues are lights remaining constantly on or the sensor failing to detect movement. If the light stays on, check for obstructions in the sensor’s field of view or excessive ambient light exceeding the daylight threshold setting. A quick cycle – off then on within a second – can sometimes override detection.
For motion detection failures, verify the sensitivity and range settings are appropriately adjusted. Ensure the sensor isn’t pointed directly at heat sources or moving objects like trees. If problems persist, resetting the switch or checking wiring connections may resolve the issue.
Light Stays On Constantly
If your motion sensor light remains illuminated despite no detected movement, several factors could be at play. First, inspect the sensor’s surroundings for obstructions – anything blocking its view can trigger continuous activation. Also, check for excessive ambient light; if it surpasses the configured daylight threshold, the sensor might interpret it as motion.
A simple troubleshooting step involves quickly toggling the switch off and on within a second, which can sometimes override the motion detection function. If this works, the sensor is likely overly sensitive. Adjusting the sensitivity settings or resetting the switch to factory defaults may also resolve the issue.
Motion Sensor Not Detecting Movement
When a motion sensor light fails to activate upon movement, begin by verifying the sensor’s line of sight. Ensure no new obstructions – furniture, plants, or decorations – are hindering its detection range. Confirm the sensitivity setting is appropriately adjusted; a low setting might miss subtle movements. Also, check the configured detection range using DIP switches, expanding it if necessary.
Inspect the sensor for dust or debris, as this can interfere with its functionality. A power cycle – turning the breaker off and on – can sometimes reset the sensor. If the problem persists, consider the possibility of a faulty sensor requiring replacement.

LED Compatibility and Bulb Types
Motion sensor light switches generally function with various bulb types, including LED, CFL, and incandescent. However, LED compatibility is crucial; some older sensors may struggle with the lower wattage draw of LEDs, potentially causing flickering or non-activation. Always check the sensor’s specifications to confirm its LED compatibility rating before installation.
When switching to LEDs, ensure the total wattage of the connected bulbs doesn’t fall below the minimum wattage requirement specified by the sensor. Using bulbs exceeding the maximum wattage can damage the sensor. Modern sensors are typically designed to work seamlessly with LEDs, offering energy efficiency and longevity.
Disabling Auto-On Mode
Sometimes, you might desire to completely disable the automatic motion-sensing functionality and operate the light solely via the manual switch. This is often achievable through a specific procedure outlined in the sensor’s manual. A common method involves quickly toggling the switch off and on within a short timeframe – typically under a second – to override motion detection.
To revert to normal operation after disabling auto-on, the switch usually requires being turned off for a designated period, such as ten seconds, before being switched back on. This resets the sensor, re-enabling motion detection. Refer to your specific model’s instructions for precise steps.
Manual Recording Operation
Certain motion sensor light switches incorporate a manual recording function, allowing direct control over the light’s operation, bypassing the motion detection entirely. Typically, this is activated by pressing and holding the power button on the unit. A subsequent press and hold of the same button will then switch the unit off, effectively disabling the manual override.
This feature provides a straightforward method for sustained illumination without relying on movement. It’s particularly useful in situations where constant light is needed for extended periods. Always consult the device’s documentation for the specific button configuration and operational details related to your model.
Parallel Connection of Override Switch
Implementing a parallel connection for an override switch offers a robust method for bypassing the motion sensor’s automatic function. This setup involves wiring a separate manual switch in parallel with the motion sensor, providing an alternative pathway for power to reach the light fixture. Correct wiring is crucial; the switch must be connected appropriately to ensure proper functionality and safety.
This configuration allows users to switch the light on and maintain it regardless of motion detection. It’s a reliable solution for situations demanding consistent illumination, offering a simple yet effective override mechanism. Always prioritize electrical safety and consult a qualified electrician if unsure about the wiring process.
Emergency/Night Light Integration

Integrating a dedicated emergency or night light with a motion sensor system, particularly using a double-pole switch, enhances safety and convenience. One pole feeds the emergency/night light directly, ensuring it remains operational even when the main area lighting is bypassed via the motion sensor. Crucially, the occupancy sensor powering this night light should be on the same circuit breaker for coordinated operation.
This setup provides continuous, low-level illumination during emergencies or nighttime, independent of motion detection. It’s a practical solution for hallways, bedrooms, or areas requiring constant visibility, offering peace of mind and improved safety features within your home’s lighting system.
Returning to Normal Operation After Override
Re-establishing standard motion-sensing functionality after a manual override is straightforward. If you’ve briefly toggled the switch on and off to maintain continuous illumination, simply turn the switch off and wait approximately ten seconds before switching it back on. This resets the motion sensor, returning it to its automatic detection mode.
This process effectively clears the temporary override, allowing the sensor to once again respond to movement. Ensure a sufficient pause before reactivation to guarantee the sensor properly resets. This simple procedure restores the energy-saving benefits and convenience of automated lighting control, providing a seamless transition back to normal operation.
Safety Precautions During Installation and Use
Prioritize electrical safety throughout the installation and operation of your motion sensor light switch. Always disconnect power at the circuit breaker before commencing any wiring work to prevent electric shock. Verify compatibility with your existing wiring and bulb types – LEDs, CFLs, and incandescents – to avoid overheating or damage.
Exercise caution when handling electrical components and ensure all connections are secure and properly insulated. Avoid using the switch in damp or hazardous environments unless specifically rated for such conditions. Regularly inspect the switch for any signs of damage or wear, and discontinue use if issues arise.