Kingsford Ribs Cooking Instructions: A Comprehensive Guide
Embark on a flavorful journey! This guide details cooking Kingsford ribs, covering smoking at 225-250°F for 4-5 hours, basting techniques, and achieving tender perfection.
Maintaining consistent temperatures, around 107-121°C, is crucial. Foil wrapping after 3.5 hours can reduce total cook time to approximately 5-7 hours, enhancing juiciness.
Understanding Kingsford Rib Types
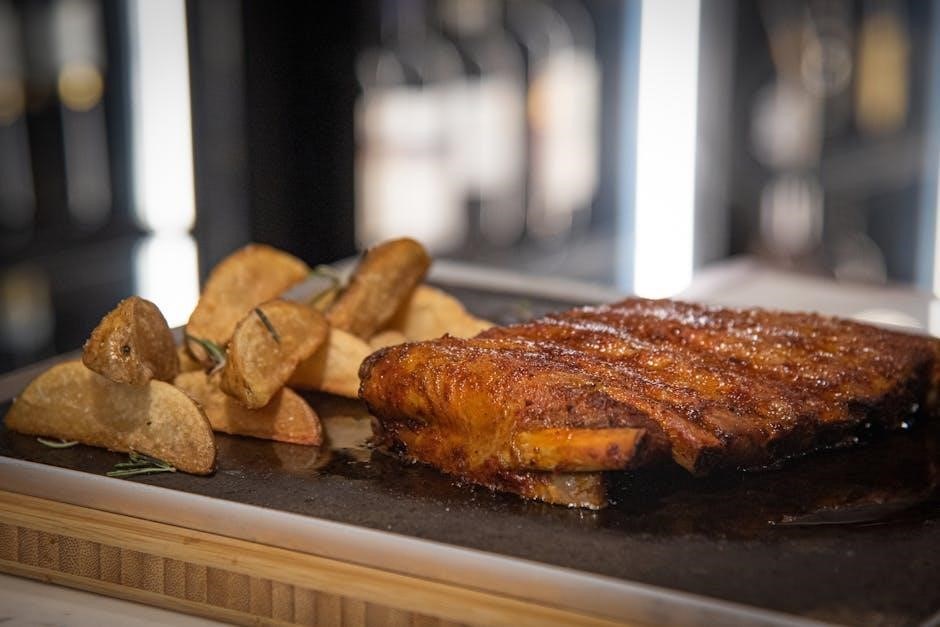
Navigating the world of Kingsford ribs begins with recognizing the distinct cuts available, each offering a unique cooking experience and flavor profile. Primarily, you’ll encounter Spare Ribs and Baby Back Ribs, differing significantly in their origin, size, and fat content.
Spare Ribs, sourced from the lower portion of the pig, are larger, meatier, and possess a higher fat marbling. This translates to a richer, more robust flavor, but often requires a longer cooking time to achieve optimal tenderness. They benefit greatly from low and slow smoking methods, like the 3-2-1 technique, to break down the connective tissues.
Baby Back Ribs, conversely, come from the loin section and are leaner, more tender, and cook faster. Their smaller size and reduced fat content make them a popular choice for quicker meals or those preferring a less fatty cut. While still delicious smoked, they are more forgiving and can also be successfully grilled or even baked.
Understanding these fundamental differences is paramount to selecting the right rib type for your desired outcome and cooking method. Consider your time constraints, flavor preferences, and preferred level of richness when making your selection.
Preparing Kingsford Ribs for Cooking
Proper preparation is foundational to exceptional Kingsford ribs. Begin by removing the ribs from their packaging and patting them dry with paper towels – this promotes a better bark formation during cooking. Next, address the membrane on the bone side; its removal isn’t strictly necessary, but significantly enhances tenderness and allows for better seasoning penetration.
To remove the membrane, slide a butter knife under a corner and gently loosen it, then grip with a paper towel and pull it off in one sheet. Now, it’s time for the rub! A generous application of your favorite BBQ rub is key. Ensure even coverage across all surfaces, pressing it gently into the meat.
Consider a base of brown sugar, paprika, garlic powder, onion powder, salt, and pepper. Allow the ribs to rest with the rub for at least 30 minutes, or ideally overnight in the refrigerator, to allow the flavors to meld. This step is crucial for developing a deeply flavorful and satisfying final product.
Essential Equipment for Cooking Kingsford Ribs
Achieving BBQ mastery with Kingsford ribs requires the right tools. A reliable grill, preferably a charcoal grill for authentic smoky flavor, is paramount. While a smoker is ideal, a standard grill can be adapted with indirect heat setups. You’ll need a quality set of tongs for handling the ribs without piercing the meat, and a sturdy spatula for maneuvering them.
An accurate meat thermometer is non-negotiable; internal temperature is the key to tenderness. Digital thermometers with probes are highly recommended. Heavy-duty aluminum foil is essential for the wrapping phase, ensuring a secure seal to trap moisture. A basting brush is useful for applying sauces or mops throughout the cooking process.
Consider a water pan to maintain humidity within the grill, preventing the ribs from drying out. Finally, oven mitts or heat-resistant gloves are crucial for safety when working with hot surfaces. Having these tools readily available will streamline the cooking process and elevate your rib game.
Temperature Control: The Key to Tender Ribs
Maintaining a consistent temperature is the cornerstone of perfectly cooked Kingsford ribs. The ideal smoking temperature range lies between 225°F and 250°F (107°C to 121°C). Fluctuations can lead to uneven cooking and dryness. Invest in a reliable grill thermometer to monitor the ambient temperature within your cooking chamber.
Avoid the temptation to frequently open the grill, as this releases heat and disrupts the cooking process. Adjust vents strategically to regulate airflow and maintain the desired temperature. Charcoal management is crucial; add more fuel as needed to sustain a steady burn. Remember, low and slow is the mantra for tender ribs.
Consistent heat breaks down tough connective tissues, resulting in fall-off-the-bone tenderness. Patience is key – rushing the process will compromise the final product. Monitoring both the grill temperature and the internal temperature of the ribs ensures optimal results. Mastering temperature control unlocks the full potential of your Kingsford ribs.
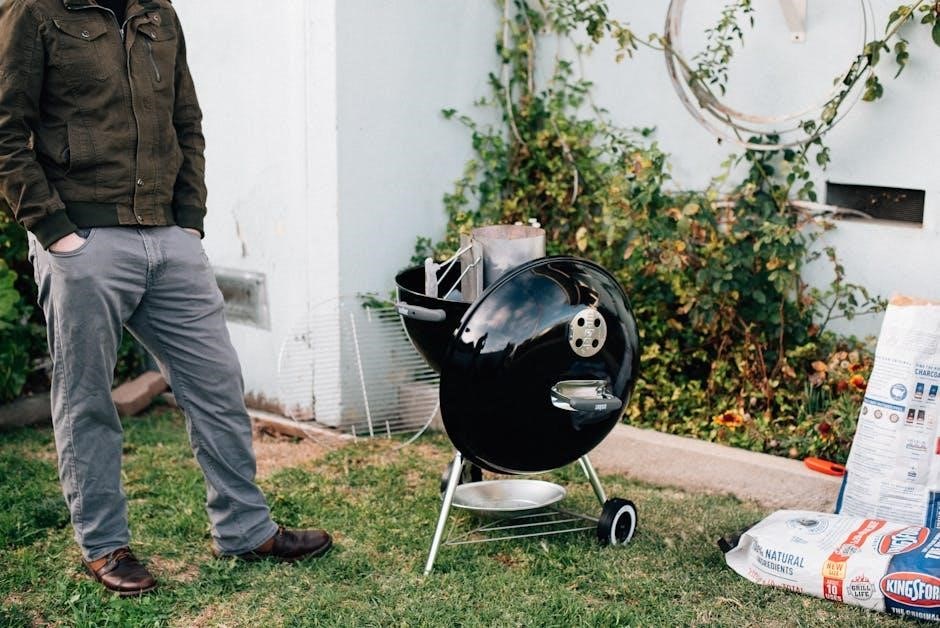
Smoking with Kingsford Charcoal
Kingsford charcoal briquettes are a readily available and reliable fuel source for smoking ribs. While not traditional lump charcoal, they provide consistent heat and a long burn time, essential for the low-and-slow cooking process. For optimal smoke flavor, supplement the briquettes with wood chunks.
Begin by arranging the charcoal in a two-zone setup – a hot zone for direct heat and a cooler zone for indirect cooking. This allows you to control the cooking temperature and move the ribs as needed. Use a chimney starter to ensure the charcoal is fully lit before adding it to the grill.
Maintain a consistent fuel level throughout the smoking process, adding more briquettes as they burn down. Avoid using lighter fluid, as it can impart an unpleasant taste to the ribs. Kingsford charcoal, combined with wood chunks, delivers a classic smoky flavor profile, perfect for achieving barbecue perfection. Remember to manage airflow for temperature control.
Wood Chunk Selection for Flavor
Elevate your Kingsford rib smoking experience by incorporating wood chunks! The type of wood significantly impacts the final flavor profile. Hickory is a classic choice, delivering a strong, smoky taste ideal for ribs, providing a robust and traditional barbecue essence.
For a sweeter, milder smoke, consider fruit woods like apple or cherry. These pair exceptionally well with pork, complementing the richness of the ribs without overpowering them. Oak offers a medium-intensity smoke, providing a balanced flavor that works well with various rubs and sauces.
Bourbon oak is another excellent option, imparting a subtle sweetness and complexity. Experiment with blends to create your signature flavor! Soak the wood chunks in water for at least 30 minutes before adding them to the coals; this creates more smoke and prevents them from burning too quickly. Remember, quality wood chunks are key to achieving exceptional flavor.
The 3-2-1 Method for Kingsford Ribs
Master the art of tender, fall-off-the-bone Kingsford ribs with the renowned 3-2-1 method! This technique breaks down the cooking process into three distinct phases, each designed to achieve optimal results. The “3” represents three hours of initial smoking at a consistent temperature, typically between 225-250°F (107-121°C), allowing the ribs to absorb a deep smoky flavor.
Next, the “2” signifies two hours of wrapping the ribs tightly in aluminum foil with a liquid – apple juice, beer, or your favorite barbecue sauce – to braise them, creating incredible tenderness. Finally, the “1” denotes one hour of unwrapping and finishing the ribs, allowing the sauce to caramelize and the bark to set.
This method ensures consistently moist and flavorful ribs. Adjust times slightly based on rib size and your grill’s temperature consistency, but the 3-2-1 framework is a reliable starting point for barbecue success!
Phase 1: Smoking (3 Hours)
The initial smoking phase is foundational for building deep, rich flavor into your Kingsford ribs. Begin by establishing a consistent temperature within your smoker or grill, ideally between 225°F and 250°F (107°C to 121°C). Maintaining this steady heat is paramount; fluctuations can hinder even cooking and optimal smoke penetration.
Place the ribs directly on the grill grate, ensuring they aren’t directly over the heat source for indirect cooking. Throughout these three hours, the ribs will absorb the smoky essence from your chosen wood chunks or charcoal. Resist the urge to frequently open the smoker, as each opening disrupts the temperature and smoke circulation.
Occasional basting or mopping with your preferred sauce can enhance flavor, but do so sparingly to avoid lowering the grill temperature excessively. The goal is gentle, consistent smoke exposure, laying the groundwork for tender, flavorful ribs.
Phase 2: Wrapping (2 Hours)
The wrapping phase, often referred to as the “Texas Crutch,” is crucial for tenderizing the ribs and intensifying their flavor. After the initial three hours of smoking, carefully remove the ribs from the smoker. Prepare a large sheet of heavy-duty aluminum foil – enough to completely enclose the rack of ribs.
Lay out a fresh sheet of foil, and optionally add a splash of liquid – apple juice, beer, or even more basting sauce – to create steam within the wrap. Place the ribs, bone-side down, onto the foil and tightly seal the package, creating a secure, leak-proof barrier.
Return the wrapped ribs to the smoker, maintaining the 225-250°F temperature. This two-hour period allows the ribs to braise in their own juices, breaking down connective tissues and resulting in incredibly tender, fall-off-the-bone texture. The steam also helps to redistribute moisture, preventing dryness.
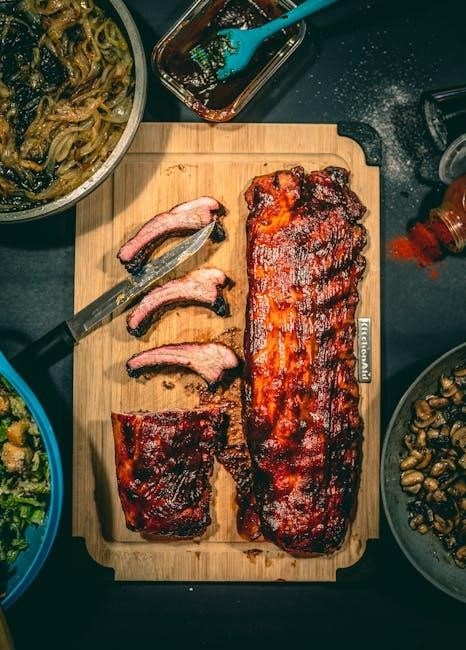
Phase 3: Finishing (1 Hour)
The final hour is dedicated to developing a beautiful bark and glazing the ribs with flavor. Carefully unwrap the ribs, discarding the foil and any accumulated juices. Return them to the smoker, placing them directly on the cooking grate, bone-side down.
During this hour, baste the ribs generously with your favorite barbecue sauce every 15-20 minutes. This creates a sticky, caramelized exterior that’s visually appealing and packed with taste. Monitor the internal temperature closely, aiming for that sweet spot of 195-203°F (90-95°C).
The direct heat will firm up the bark, while the repeated basting layers on the flavor. Be mindful not to burn the sauce; adjust the smoker’s temperature if necessary. This final phase is about perfecting the texture and maximizing the overall taste experience, preparing the ribs for serving.
Basting and Mopping Techniques
Basting and mopping are crucial for maintaining moisture and enhancing flavor throughout the long cooking process. Basting involves applying a sauce – barbecue, fruit-based, or even a simple glaze – to the ribs’ surface, typically during the later stages of cooking. This creates a sticky, caramelized exterior.
Mopping, on the other hand, utilizes a liquid – often a vinegar-based sauce, apple juice, or beer – applied more frequently, usually every 30-60 minutes during the smoking phase. Mopping helps keep the ribs moist and adds subtle layers of flavor.
Avoid excessive opening of the smoker, as this releases heat and extends cooking time. When basting or mopping, work quickly and efficiently. Remember, the goal is to supplement the natural flavors of the ribs and Kingsford charcoal, not to mask them. Experiment with different liquids and sauces to discover your preferred taste profile.
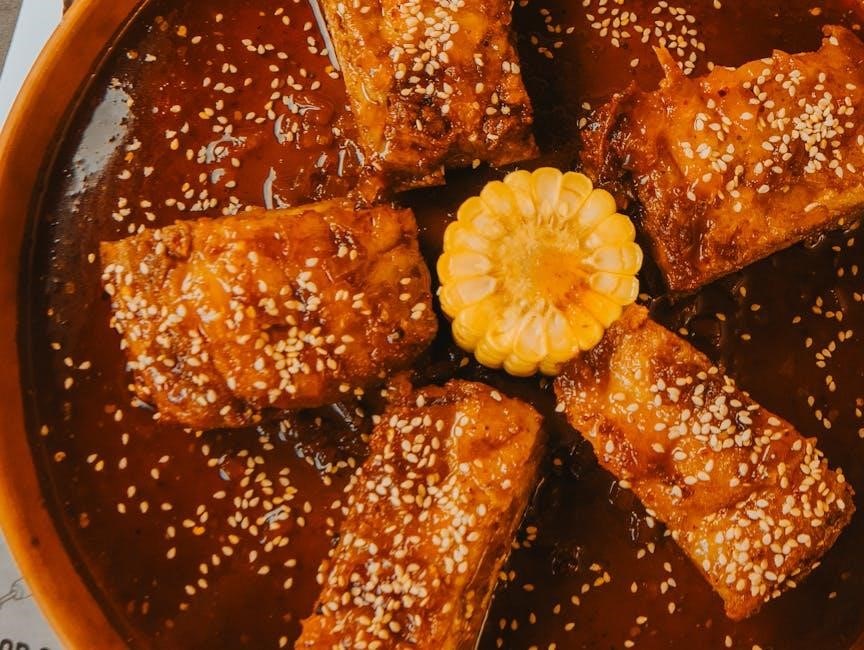
Popular Basting Sauce Recipes
Elevate your Kingsford ribs with these delightful basting sauce options! A classic Kansas City-style sauce blends ketchup, brown sugar, molasses, Worcestershire sauce, smoked paprika, and a dash of cayenne pepper for a sweet, smoky, and slightly spicy kick.
For a Carolina-inspired twist, combine vinegar (apple cider or white), brown sugar, red pepper flakes, and black pepper. This tangy sauce cuts through the richness of the pork. Alternatively, a fruity option featuring apricot preserves, Dijon mustard, and a splash of bourbon offers a unique sweetness and depth.
A simple yet effective mop involves apple juice, Worcestershire sauce, and garlic powder. Remember to brush sauces on during the final hours of cooking, building layers of flavor. Experiment with your own combinations – the possibilities are endless! Adjust sweetness and spice levels to your preference, creating a truly personalized basting experience.
Internal Temperature Monitoring
Achieving perfectly cooked Kingsford ribs hinges on precise internal temperature monitoring. While the “bend test” is a useful indicator, a reliable meat thermometer provides definitive results. Insert the probe into the thickest part of the meat, avoiding bone, for an accurate reading.
For spare ribs, aim for an internal temperature between 195-203°F (90-95°C). Baby back ribs typically reach desired tenderness slightly earlier, around 190-195°F (88-90°C). Remember that carryover cooking will continue to raise the temperature slightly after removing the ribs from the heat.
Consistent monitoring throughout the final stages of cooking prevents overcooking and ensures maximum juiciness. Digital thermometers with alarms are particularly helpful, alerting you when the target temperature is reached. Don’t rely solely on time; temperature is the ultimate judge of doneness. Regular checks, especially during the last hour, are crucial for tender, flavorful ribs.
Checking for Doneness: The Bend Test
Beyond temperature, the “bend test” offers a tactile assessment of rib doneness. Using tongs, gently lift the rack of ribs about halfway along their length. Observe how they respond to the pressure – this is key to determining tenderness.
If the ribs bend significantly and the bark cracks slightly, they’re likely nearing completion. A pronounced bend, almost to the point of breaking, indicates optimal tenderness. However, a slight resistance suggests they require additional cooking time. Avoid excessive force, as you don’t want to tear the ribs apart.
This test is best performed towards the end of the cooking process, after several hours of low and slow smoking. Combine the bend test with internal temperature readings for the most accurate assessment. Remember, the bend test is subjective and requires practice to master. It’s a valuable skill for any pitmaster seeking perfectly tender Kingsford ribs.
Resting the Ribs
The resting period is a crucial, often overlooked, step in achieving truly exceptional Kingsford ribs. Once removed from the heat source, don’t immediately slice into them! Allowing the ribs to rest enables the muscle fibers to relax and reabsorb the flavorful juices that have been rendered during cooking.
Wrap the cooked ribs loosely in butcher paper or aluminum foil and place them in a cooler (without ice) for at least 30 minutes, and ideally up to two hours. This creates a self-basting environment, ensuring maximum moisture retention. The internal temperature will continue to rise slightly during this time, a phenomenon known as carryover cooking.
Resisting the temptation to cut into the ribs prematurely will result in a significantly more tender and flavorful final product. Resting allows for a more even distribution of juices, preventing them from escaping upon slicing. Patience is rewarded with ribs that practically fall off the bone!
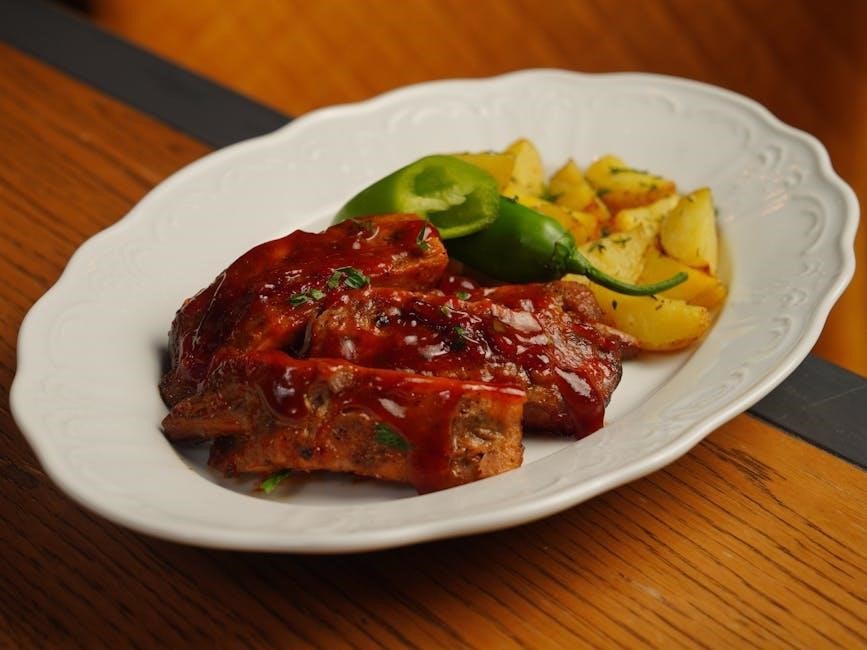
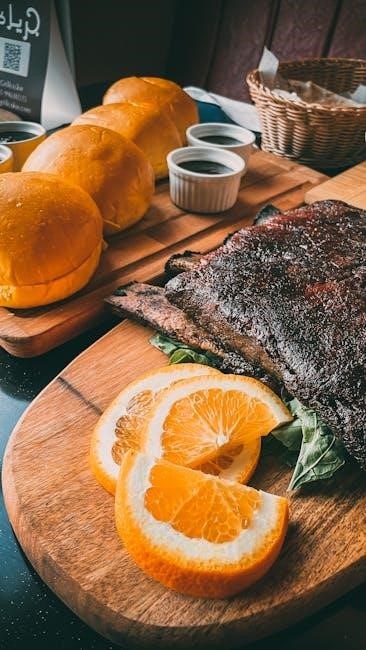
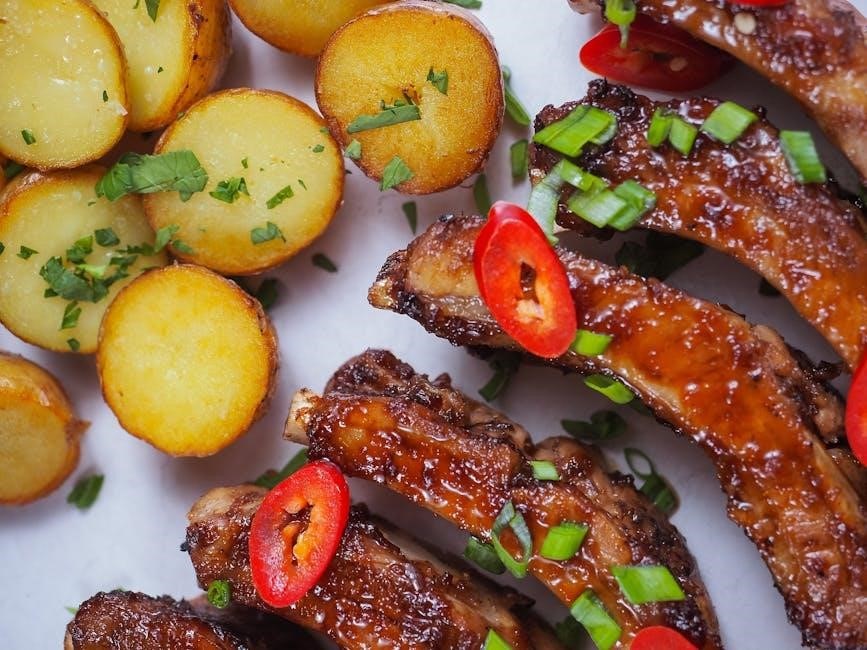
Serving Suggestions for Kingsford Ribs
Now for the best part – enjoying your perfectly cooked Kingsford ribs! These smoky, tender ribs are incredibly versatile and pair wonderfully with a variety of classic barbecue sides. Consider serving them with creamy coleslaw, offering a cool and crisp contrast to the rich, savory flavor of the ribs.
Classic options like baked beans, potato salad, and macaroni and cheese are always crowd-pleasers. For a lighter touch, a fresh garden salad with a tangy vinaigrette provides a refreshing accompaniment. Corn on the cob, grilled or boiled, adds a touch of sweetness and summery goodness.
Don’t forget the sauces! Offer a selection of barbecue sauces – sweet, spicy, and tangy – to cater to different preferences. A side of pickles provides a palate cleanser between bites. And, of course, a cold beverage, like iced tea or lemonade, completes the perfect barbecue feast. Enjoy!
Troubleshooting Common Issues
Even with careful planning, occasional hiccups can occur during the Kingsford ribs cooking process. One common issue is dryness. If ribs seem to be drying out, consider wrapping them in foil during the second phase of the 3-2-1 method, adding a little liquid (apple juice or beer) for extra moisture.
Temperature fluctuations are another challenge. Maintaining a consistent 225-250°F is key; adjust your charcoal or vents as needed. If ribs are cooking too quickly, lower the temperature. Conversely, if they’re taking too long, increase it slightly.
Uneven cooking can happen. Rotate the ribs on the grill periodically to ensure even exposure to heat and smoke. Finally, if the internal temperature isn’t rising, double-check your thermometer’s calibration and ensure adequate charcoal is present. Remember, patience and observation are your best tools!
Avoiding Dry Ribs
Dry ribs are a pitmaster’s nightmare, but easily avoidable with proper technique. The key lies in maintaining moisture throughout the cooking process. Employing the 3-2-1 method, particularly the wrapping phase, is crucial. Wrapping the ribs in heavy-duty aluminum foil with a liquid – apple juice, beer, or even a flavorful basting sauce – creates a steaming environment, preventing moisture loss.

Basting or mopping frequently, though not excessively (avoid opening the grill too often), adds surface moisture. Don’t overcook! Rely on both time and temperature. Monitoring the internal temperature and performing the bend test are vital indicators of doneness.
Finally, remember that resting the ribs after cooking allows the juices to redistribute, resulting in a more tender and flavorful final product. A little attention to these details will guarantee juicy, succulent Kingsford ribs every time.
Adjusting Cooking Time Based on Rib Size
Rib size significantly impacts cooking time; a one-size-fits-all approach simply won’t deliver consistently perfect results. Smaller spare ribs, weighing less, will naturally require less time than larger St. Louis-style ribs. Generally, expect to add approximately 30-60 minutes of smoking time for every additional pound of ribs.
Thinner ribs may be done in as little as 5-6 hours using the 3-2-1 method, while heftier racks could easily take 7-8 hours or even longer. Consistent temperature monitoring is paramount. Use a reliable meat thermometer to track internal temperature, rather than solely relying on time estimates.
Visual cues, like the bend test, are helpful, but internal temperature provides the most accurate assessment. Remember, it’s better to err on the side of slightly longer cooking times than to risk serving dry, undercooked ribs. Adjust accordingly and enjoy!
Kingsford Ribs in the Oven (Alternative Method)
For those without a smoker, the oven provides a viable alternative for achieving tender, flavorful Kingsford ribs. Preheat your oven to 400°F (204°C). Line a baking pan with heavy-duty aluminum foil – this will contain the mess and aid in moisture retention.
Remove the ribs from their packaging and place them directly onto the foil-lined pan. Cover the pan tightly with another layer of aluminum foil, creating a sealed environment. This mimics the moist heat of a smoker. Bake for approximately 3-4 hours, depending on the size and thickness of the ribs.
After the initial baking period, carefully remove the top layer of foil. Increase the oven temperature to 375°F (190°C) and continue baking for another 30-60 minutes, allowing the ribs to caramelize and develop a slightly crispy exterior. Basting with your favorite BBQ sauce during the last 15-20 minutes enhances flavor.
Safety Precautions When Cooking Ribs
Prioritizing safety is paramount when cooking Kingsford ribs, whether utilizing a smoker, grill, or oven. Always handle raw ribs with care, employing separate cutting boards and utensils to prevent cross-contamination with other foods. Thoroughly wash your hands with soap and warm water after handling raw meat.
When working with charcoal, ensure proper ventilation to avoid carbon monoxide poisoning. Never use a grill indoors or in an enclosed space. Keep a fire extinguisher readily accessible and be mindful of hot surfaces – grills and oven racks can reach extremely high temperatures.
Exercise caution when handling hot ribs and cooking liquids. Utilize oven mitts or heat-resistant gloves to protect your hands from burns. Be aware of potential flare-ups when basting with sugary sauces, and keep a spray bottle of water nearby to control any unexpected flames. Always supervise the cooking process and never leave a hot grill or oven unattended.