Wind Spinner Assembly Instructions: A Comprehensive Guide
Detailed instructions, including adapter assembly and torque testing, are often found within comprehensive PDF manuals provided by the manufacturer for optimal performance.
Understanding Wind Spinner Components
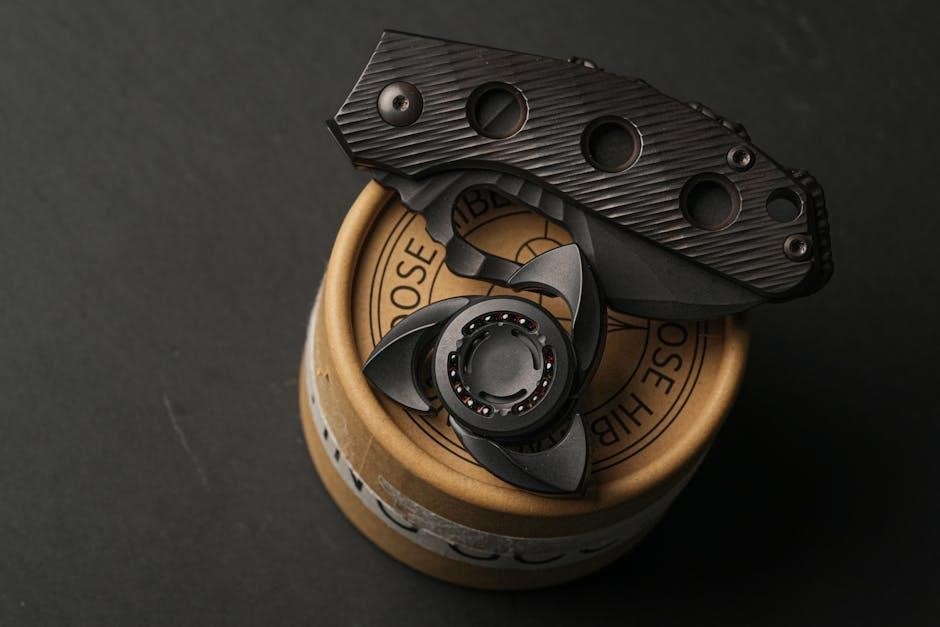
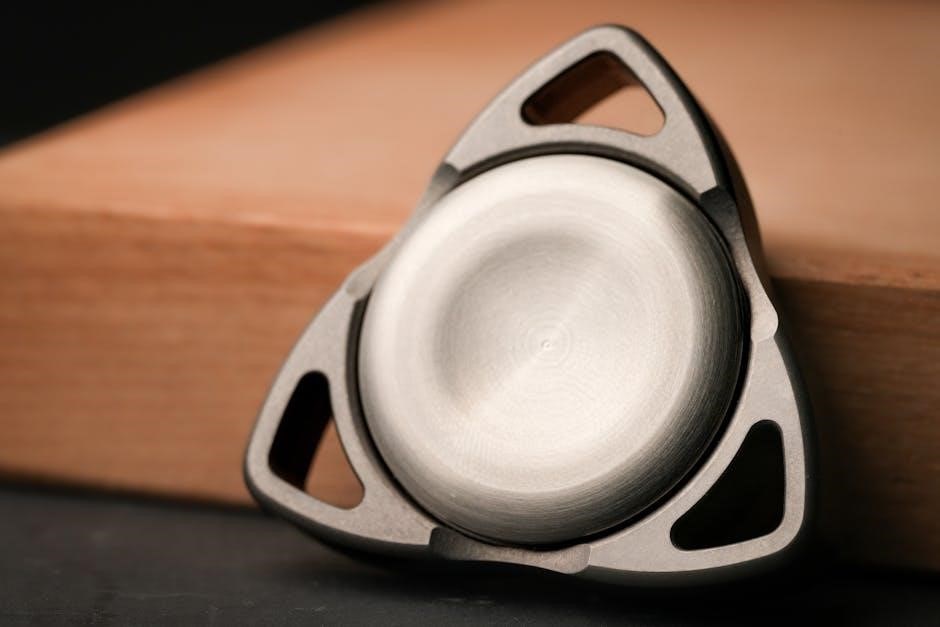
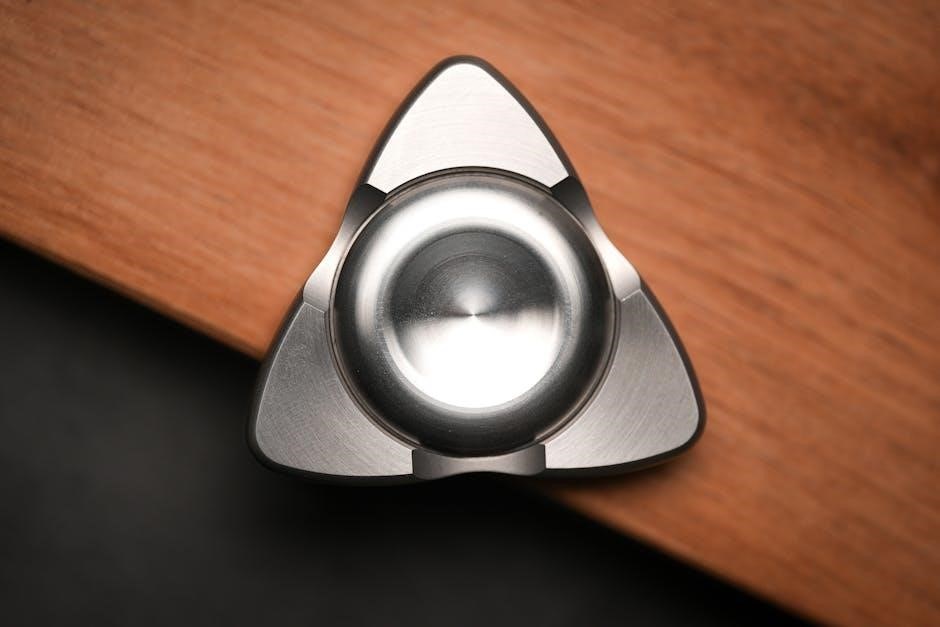
Before beginning assembly, familiarize yourself with the core elements detailed in the wind spinner assembly instructions PDF. These typically include the spinner head, designed to catch the wind and initiate rotation, and the arms or blades, which translate airflow into kinetic energy.
The central hub serves as the pivotal connection point for these components, ensuring smooth and balanced movement. Crucially, the hanging mechanism – often an S-hook – facilitates secure mounting. Understanding how these parts interact, as outlined in the PDF, is vital.
PDF manuals often illustrate these components with diagrams, clarifying their function and proper orientation during assembly. Recognizing each part beforehand streamlines the process and minimizes potential errors, leading to a beautifully functioning wind spinner.
Identifying Parts in Your Kit
Refer to the parts list within your wind spinner assembly instructions PDF to accurately identify each component. Kits generally include the spinner head, various arm/blade pieces, a central hub, and the necessary hanging hardware – typically an S-hook.
The PDF should provide clear illustrations or diagrams, labeling each part for easy recognition. Pay close attention to any included pins, cones, or adapters, as these are crucial for proper assembly. Verify that all listed parts are present before proceeding.
Manufacturers’ instructions emphasize checking for any ‘Samp;ID’ markings on the fuselage, ensuring all components are accounted for. A thorough inventory, guided by the PDF, prevents frustration and ensures a complete, functional wind spinner.
Tools Required for Assembly
The wind spinner assembly instructions PDF will detail the necessary tools, though typically, the requirements are minimal. Most kits require only basic hand tools. A screwdriver (Phillips head is common) is often needed for securing components.
Depending on the model, pliers may be useful for manipulating smaller parts or tightening connections. While not always essential, having a rubber mallet can aid in gently assembling pieces without causing damage.
The PDF may also suggest protective eyewear, especially when working with potentially brittle materials. Review the manufacturer’s guidance; simplified connections, deviating from instructions, can void warranty support.

Step-by-Step Assembly Process
The PDF guides users through attaching the spinner head, connecting arms, assembling the central hub, and securing the hanging mechanism sequentially.
Attaching the Spinner Head
Refer to your wind spinner assembly instructions PDF for precise guidance on attaching the spinner head, as procedures vary by model. Typically, this involves aligning the head with the central hub’s designated mounting point.
Ensure a secure fit, often utilizing a pin or screw, referencing the PDF’s diagrams for correct orientation. The PDF will detail if any specific tools are needed for this step. Improper attachment can lead to instability or reduced spinning efficiency.
Always follow the manufacturer’s instructions as a guidance, checking for any ‘Samp;ID’ markings on the fuselage during assembly. A stable connection is crucial for safe and enjoyable operation, so double-check the PDF’s illustrations.
Connecting the Arms/Blades
The wind spinner assembly instructions PDF will illustrate how to connect the arms or blades to the central hub. This usually involves inserting them into pre-drilled slots or attaching them with screws, as detailed in the PDF.
Pay close attention to the orientation of each arm/blade, as indicated in the PDF diagrams; incorrect placement impacts balance and rotation. The PDF may specify torque requirements for secure fastening.
Ensure all connections are firm, avoiding overly tight fastening which could damage components. Simplified connections, deviating from the PDF, void warranty support. Refer to the PDF for specific guidance on adapter assembly if applicable.
Assembling the Central Hub
The wind spinner assembly instructions PDF provides a detailed guide to constructing the central hub, the core component for blade attachment. It often involves connecting multiple parts using pins or screws, as illustrated within the PDF.

Carefully follow the PDF’s diagrams to ensure correct alignment and secure fastening. Improper assembly can lead to instability and reduced spinning efficiency. The PDF may detail specific torque settings for optimal performance.
Adhere strictly to the manufacturer’s instructions outlined in the PDF; deviations can invalidate warranty claims. The PDF may also reference rear cone assembly and guide pin placement for specific models.
Securing the S-Hook or Hanging Mechanism
The wind spinner assembly instructions PDF emphasizes the importance of a secure hanging mechanism for safety and optimal performance. It typically details how to attach the provided S-hook or alternative hanging hardware to the assembled spinner.
Refer to the PDF’s illustrations for correct attachment points and recommended knot tying techniques if using cord or wire. Ensure the connection is robust enough to withstand wind forces and the spinner’s weight.
The PDF may caution against using inadequate hardware, potentially leading to falls and damage. Always double-check the security of the connection before hanging the spinner in its final location.

Troubleshooting Common Assembly Issues
PDF manuals often dedicate sections to resolving assembly difficulties, missing parts, and ensuring smooth rotation, guiding users through potential fixes.
Difficulty Connecting Arms
If encountering resistance when attaching arms, consult the wind spinner assembly instructions PDF for detailed diagrams and proper alignment techniques. Often, a slight adjustment or ensuring correct orientation resolves the issue. The PDF may highlight specific connection points and the necessary force required – avoid excessive pressure that could damage components.
Check for any obstructions or misaligned slots before applying force. Some models utilize pins or guides; verify their correct placement as detailed in the manual. Improper installation violates assembly rules and voids warranty support, according to manufacturer guidelines. Referencing the PDF’s troubleshooting section can pinpoint common errors and offer step-by-step solutions, ensuring a secure and stable connection for optimal spinning performance.
Spinner Not Rotating Smoothly
A lack of smooth rotation often stems from assembly errors; the wind spinner assembly instructions PDF is your primary resource for diagnosis. Check for any binding points between the spinner head, arms, and central hub, as detailed in the manual’s diagrams. Ensure all connections are secure but not overly tightened, potentially causing friction.
The PDF may advise applying a small amount of lubricant to the rotating parts, but only if specifically recommended by the manufacturer. Verify the absence of any debris or obstructions hindering movement. Improper assembly, as outlined in the PDF, can lead to instability and reduced performance. Following the manual’s guidance ensures optimal airflow and a captivating spinning display.
Parts Missing from Kit
If components are absent, immediately consult the wind spinner assembly instructions PDF’s parts list to confirm the discrepancy. Do not attempt assembly with missing pieces, as this can compromise structural integrity and functionality. The PDF should contain manufacturer contact information for reporting missing parts and requesting replacements.
Carefully review the packaging and all included materials; sometimes, smaller items are concealed within protective layers. Note the specific part numbers from the PDF when contacting customer support to expedite the process. A complete kit, as detailed in the manual, is crucial for a successful and enjoyable assembly experience. Avoid using substitute parts, as they may not meet safety standards.

Safety Precautions During Assembly
Always adhere to the manufacturer’s instructions detailed in the wind spinner assembly instructions PDF, ensuring proper connections and avoiding warranty voidance.
Protecting Your Eyes
When assembling your wind spinner, referencing the wind spinner assembly instructions PDF is crucial for safety. Certain steps, particularly those involving cutting or manipulating metal components, may generate small particles or debris. Therefore, wearing safety glasses or goggles is strongly recommended to shield your eyes from potential irritation or injury.
The PDF manual often highlights specific steps where eye protection is particularly important. Ignoring this precaution could lead to discomfort or, in rare cases, more serious eye damage. Ensure the safety eyewear fits securely and provides adequate coverage. Prioritize eye safety throughout the entire assembly process, even during seemingly simple tasks, to guarantee a safe and enjoyable experience. Always consult the PDF for detailed guidance.
Working in a Safe Environment
Reviewing the wind spinner assembly instructions PDF before beginning is paramount for a secure setup. Choose a well-lit, spacious, and stable work area, free from obstructions and potential tripping hazards. Ensure adequate ventilation, especially if using any adhesives or cleaning agents mentioned in the PDF. A clean workspace minimizes the risk of losing small parts or encountering unexpected obstacles during assembly.
The PDF manual may specify requirements for surface protection to prevent scratches or damage to both the spinner components and your work surface. Keep children and pets away from the assembly area to avoid accidental interference or injury. Prioritize a calm and focused environment, allowing you to carefully follow the instructions outlined in the PDF.

Wind Spinner Maintenance & Care
The assembly instructions PDF often details cleaning procedures and winter storage, ensuring longevity and optimal performance of your wind spinner.
Cleaning Your Wind Spinner
Regular cleaning maintains your wind spinner’s vibrant appearance and smooth rotation. The assembly instructions PDF frequently provides specific cleaning recommendations tailored to your model’s materials. Generally, a mild soap solution and soft cloth are sufficient for removing dust and debris.
Avoid abrasive cleaners, as they can damage the finish. For stubborn grime, a gentle brush may be used, but exercise caution to prevent scratching. Inspect the bearings and rotating parts during cleaning; a silicone-based lubricant can ensure continued smooth operation. Pay particular attention to glass panels, if present, using appropriate glass cleaners.

Thoroughly rinse with clean water and allow to dry completely before reassembling or leaving outdoors. Consistent cleaning, as outlined in the PDF, will significantly extend the life and beauty of your wind spinner.
Winter Storage Recommendations
Protecting your wind spinner during harsh winter months is crucial for longevity. The assembly instructions PDF may detail specific storage guidelines, but general principles apply. Disassemble the spinner as much as possible, carefully storing all components indoors in a dry, sheltered location.
Avoid storing in damp basements or unheated garages where condensation can cause rust or corrosion. Wrap delicate parts, like glass panels, in protective materials to prevent breakage. Consider applying a light coat of lubricant to moving parts to prevent seizing during prolonged inactivity.
Ensure the storage area is secure from pests and extreme temperature fluctuations. Following these recommendations, often found within the PDF, will ensure your wind spinner remains in excellent condition for years to come.
Advanced Assembly Techniques (If Applicable)
PDF manuals often detail adapter and control wheel assembly, alongside torque and force testing procedures for specific wind spinner models, ensuring optimal function.
Adapters and Control Wheel Assembly
Many wind spinner models utilize adapters to connect various components, and detailed PDF assembly instructions are crucial for correct installation. These instructions often illustrate the precise alignment and securing methods for these adapters, ensuring a stable and efficient rotation. The control wheel, if present, requires careful assembly, often involving specific pin placements – as noted in some manuals – to regulate the spinner’s speed and responsiveness to wind conditions.
PDF guides frequently provide diagrams showcasing the proper sequence for attaching the control wheel to the central hub. Ignoring these steps can lead to imbalances or restricted movement. Furthermore, some advanced models may require torque adjustments during this phase, a process thoroughly explained within the manufacturer’s PDF documentation. Always refer to the specific manual for your wind spinner model to guarantee a successful and durable assembly.
Torque and Force Testing (For Specific Models)
Certain sophisticated wind spinner designs, as detailed in their accompanying PDF assembly instructions, necessitate torque and force testing post-assembly. This crucial step verifies the structural integrity and rotational performance under simulated wind conditions. The PDF manuals will outline specific procedures, potentially involving calibrated tools to measure the force required to initiate and maintain spinner rotation.
These tests ensure the spinner can withstand varying wind speeds without experiencing damage or premature wear. Instructions often emphasize checking for any looseness in connections or binding in the rotating parts. Adhering to these testing protocols, as described in the PDF, is vital for maximizing the lifespan and enjoyment of your wind spinner, guaranteeing it operates safely and efficiently.

Finding Replacement Parts & Support
PDF assembly manuals often contain manufacturer contact information and details for locating replacement parts, ensuring continued enjoyment of your wind spinner.
Manufacturer Contact Information
Locating direct manufacturer details is crucial for specific part requests or clarifying assembly steps found within the PDF instructions. While the provided text doesn’t explicitly list contacts, comprehensive manuals typically include phone numbers, email addresses, and website links for dedicated support.
These resources are invaluable when encountering issues not addressed in the standard guide. Remember to have your wind spinner’s model number readily available when contacting support, as this streamlines the process. Many manufacturers also offer online FAQs and troubleshooting sections on their websites, supplementing the PDF documentation. Prioritize checking these digital resources before direct contact for quicker solutions.
Locating PDF Assembly Manuals
Finding the correct PDF assembly manual is the first step towards successful wind spinner construction; Often, these manuals aren’t physically included in the kit but are available for download from the manufacturer’s website. Search using the wind spinner’s model number for precise results.
Alternatively, a general web search including “wind spinner assembly instructions pdf” and the brand name can yield relevant links. The provided text references manuals containing details on adapter assembly, control wheel procedures, and torque/force testing. Ensure the downloaded PDF corresponds to your specific model to avoid incorrect instructions. Saving a digital copy ensures easy access during assembly and future maintenance.