
MHK2 Installation Manual: A Comprehensive Guide
This comprehensive manual details the installation and setup of the MHK2 wireless remote controller kit, encompassing the MRCH2 controller, MIFH2 receiver, and MRC2 cable․
The MHK2 RedLINK Wireless Remote Controller Kit provides convenient, wireless control for compatible Mitsubishi Electric indoor units․ This system enhances user experience by offering remote access to essential functions, eliminating the need for direct access to the unit itself․ Installation involves connecting the MIFH2 receiver and MRC2 cable, then pairing with the MRCH2 controller․
Proper installation, as outlined in this manual, is crucial for optimal performance and safety․ It’s designed for trained technicians, ensuring correct wiring and configuration for seamless integration with existing systems․
Understanding the Components
The MHK2 system comprises three key components: the MRCH2 Controller, the MIFH2 Receiver, and the MRC2 Cable․ The MRCH2 is the handheld remote, enabling wireless operation․ The MIFH2 receiver, installed within the indoor unit, captures signals from the controller․
The MRC2 cable facilitates the connection between the receiver and the unit’s control board․ Each component is specifically designed for compatibility, ensuring reliable communication and functionality․ Familiarizing yourself with each part is essential before beginning the installation process․
MHK2-MRCH2 Controller Overview
The MHK2-MRCH2 Controller serves as the primary interface for remotely managing your Mitsubishi Electric indoor unit․ This wireless remote offers convenient control over various functions, including temperature adjustment, fan speed selection, and operational mode changes․
Its user-friendly design ensures ease of operation, while its robust construction guarantees durability․ The controller transmits signals to the MIFH2 receiver, enabling seamless communication with the connected system․ Proper handling and battery maintenance are crucial for optimal performance․
MIFH2 Receiver Details
The MIFH2 Receiver is the crucial link between the MHK2-MRCH2 Controller and your Mitsubishi Electric indoor unit․ This component receives wireless signals from the controller, translating them into commands for the HVAC system․
Proper placement of the receiver is essential for reliable communication, avoiding obstructions and ensuring adequate signal strength․ It requires a stable power supply for consistent operation and should be installed by a qualified technician to guarantee correct wiring and functionality․
MRC2 Cable Specifications
The MRC2 cable facilitates the wired connection between the MIFH2 receiver and the Mitsubishi Electric indoor unit․ This cable transmits control signals, enabling the remote controller to manage the system’s functions effectively․
Ensure the MRC2 cable is securely connected at both ends to prevent communication errors․ It’s vital to verify the cable’s integrity, checking for any damage or fraying․ A qualified technician should handle the installation to guarantee a stable and reliable connection․
Safety Precautions
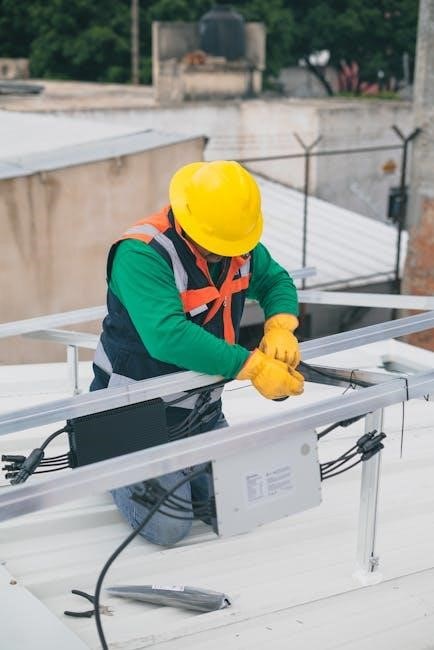
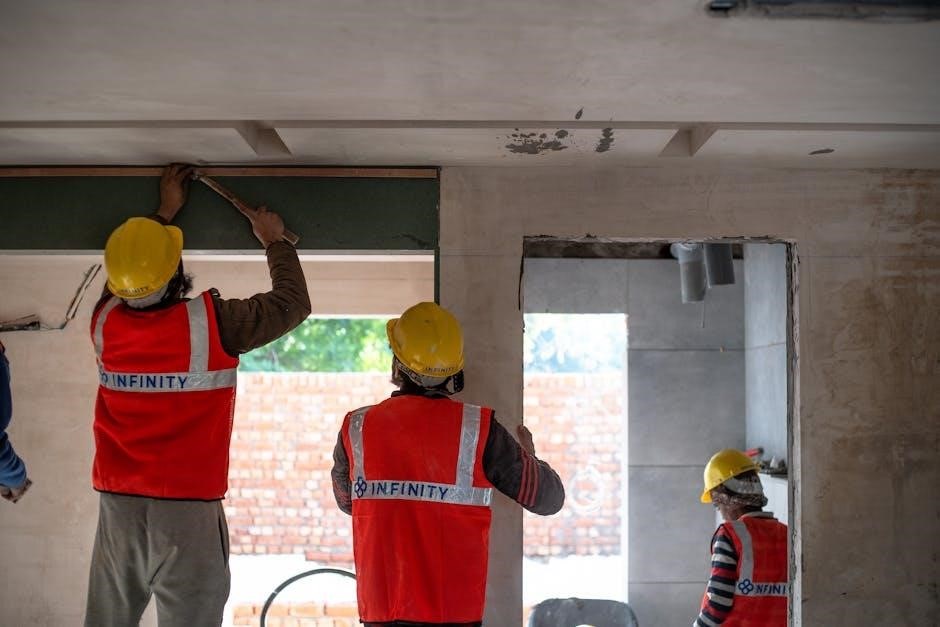
Prior to commencing installation, it is absolutely critical to disconnect power to the system․ Failure to do so can result in severe electrical shock or irreversible equipment damage․ This installation must be performed exclusively by a trained and experienced technician possessing the necessary expertise․
Carefully read and fully understand these instructions before beginning․ Ignoring these precautions could lead to improper installation, system malfunction, or potential safety hazards․ Always prioritize safety during the entire installation process․
Electrical Safety Warnings
Disconnecting power is paramount before initiating any installation procedures․ Working with live electrical circuits presents a significant risk of dangerous electrical shock, potentially causing severe injury or even fatality․ Ensure the power supply is completely shut off at the breaker panel or disconnect switch․
Verify the absence of voltage using a reliable testing device before touching any wires or components․ Improper handling of electrical connections can also lead to substantial equipment damage․ Always adhere to local electrical codes and regulations․
Qualified Technician Requirement
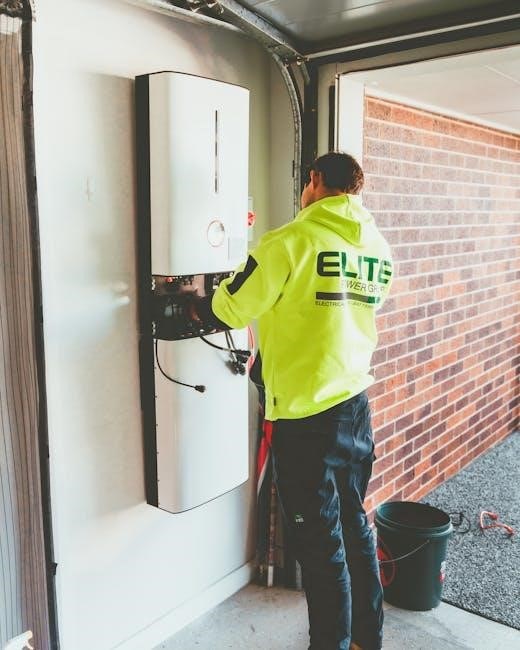
Installation of the MHK2 system must be performed by a trained and experienced technician․ This ensures adherence to safety protocols and proper system functionality․ Attempting installation without the necessary expertise can result in incorrect wiring, system malfunctions, and potential hazards․
A qualified technician possesses the knowledge to safely disconnect power, interpret wiring diagrams, and configure the system correctly․ They understand local electrical codes and can guarantee a compliant and reliable installation, safeguarding both the equipment and occupants․
Installation Process: Step-by-Step
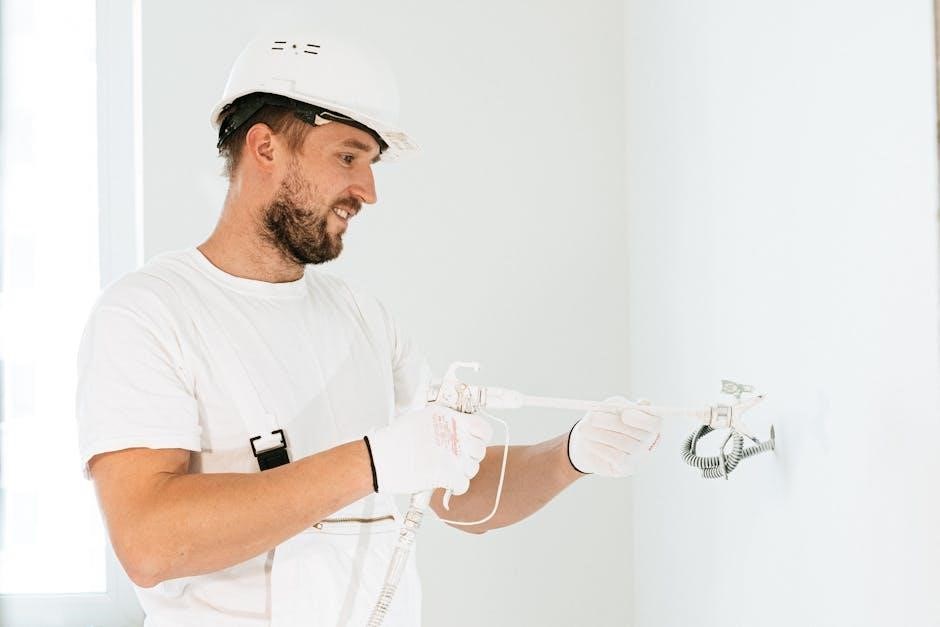
Begin by carefully disconnecting power to the indoor unit – this is a critical safety precaution to prevent electrical shock or equipment damage․ Next, install the MIFH2 receiver, ensuring secure mounting and proper wire connections according to the provided diagrams․
Subsequently, connect the MRC2 cable between the indoor unit and the receiver, verifying a firm and reliable connection․ Always double-check all wiring before proceeding to the pairing stage, and strictly adhere to the manual’s instructions․
Disconnecting Power – A Critical First Step
Before commencing any installation procedures, absolutely disconnect power to the Mitsubishi Electric indoor unit at the breaker panel․ Failure to do so presents a significant risk of dangerous electrical shock or irreversible damage to the equipment․ This step is paramount for technician safety and proper system functionality․
Confirm power is completely off using a reliable voltage tester before touching any wiring․ Always prioritize safety and follow all local electrical codes․ Ignoring this warning could lead to serious consequences, voiding warranties and potentially causing harm․
Installing the MIFH2 Receiver
The MIFH2 receiver is a crucial component for wireless communication with the MHK2 controller․ Carefully locate a suitable mounting position within the indoor unit, ensuring adequate space and accessibility for wiring․ Securely attach the receiver using appropriate screws or mounting hardware, avoiding obstruction of airflow․
Connect the receiver’s wiring harness to the designated terminals on the indoor unit’s control board, referencing the wiring diagram․ Double-check all connections for tightness and correct polarity before proceeding․ Proper installation ensures reliable signal transmission․
Connecting the MRC2 Cable
The MRC2 cable establishes the wired connection between the MIFH2 receiver and the MHK2-MRCH2 controller․ Carefully route the cable, avoiding sharp bends or potential damage․ Connect the cable’s connector to the corresponding port on the receiver, ensuring a secure fit․
Next, connect the other end of the MRC2 cable to the designated port on the back of the MHK2-MRCH2 controller․ Verify the connection is firm and properly seated․ A secure MRC2 cable connection is vital for reliable communication between components․
Pairing the MHK2 Controller
Successful pairing synchronizes the MHK2-MRCH2 controller with the MIFH2 receiver, enabling remote control functionality․ Initiate pairing mode on the receiver as detailed in the following section․ Ensure the controller is within range of the receiver during the pairing process for optimal results․
Follow the controller pairing procedure carefully, observing any indicator lights or prompts․ A successful pairing is typically confirmed by a visual or audible signal from the receiver․ If pairing fails, repeat the process, verifying power and proximity․
Initiating Pairing Mode on the Receiver
To begin the pairing process, the MIFH2 receiver must be placed into pairing mode․ Consult the receiver’s specific instructions for the exact method, as it may involve pressing and holding a designated button․ Observe the receiver’s indicator light; it should begin flashing to signal pairing mode activation․
Ensure no other devices are attempting to pair simultaneously, as this could cause interference․ The receiver remains in pairing mode for a limited time, so proceed with the controller pairing procedure promptly․ Successful activation is crucial for establishing communication․
Controller Pairing Procedure
With the receiver in pairing mode, proceed to initiate pairing on the MHK2-MRCH2 controller․ Typically, this involves pressing and holding a specific pairing button on the controller itself․ Monitor the controller’s display for confirmation that it is transmitting a pairing signal․
Allow sufficient time for the controller and receiver to establish a connection․ A successful pairing is usually indicated by a change in the receiver’s indicator light, often becoming solid․ If pairing fails, repeat the process, ensuring both devices are within range․
System Configuration
Following installation and pairing, proper system configuration is crucial for optimal performance․ Begin by verifying the wireless communication between the controller and the receiver, ensuring a stable connection․ Confirm that the controller accurately reflects the operational status of the Mitsubishi Electric indoor unit․
Thoroughly test all remote control functionalities – including temperature adjustments, fan speed control, and mode selection – to guarantee responsiveness․ Address any discrepancies immediately to ensure a seamless user experience․
Setting Up Wireless Communication
Establishing reliable wireless communication is paramount for the MHK2 system’s functionality․ Ensure the MIFH2 receiver is strategically positioned to optimize signal strength with the MRCH2 controller, avoiding obstructions․ Verify the receiver’s power supply is stable and within the specified voltage range․
During initial setup, observe the indicator lights on both devices for successful pairing confirmation․ Address any interference issues by relocating the receiver or controller if necessary, ensuring consistent connectivity․
Testing the Remote Control Functionality
After successful pairing and configuration, thoroughly test all functions of the MHK2 remote controller․ Verify each button corresponds to the intended operation on the Mitsubishi Electric indoor unit, including temperature adjustments, fan speed control, and mode selection․
Confirm the remote’s range by testing from various locations within the intended operating area․ Address any unresponsive buttons or erratic behavior by re-pairing the controller or checking battery levels․
Troubleshooting Common Issues
If the controller fails to respond, first check the batteries and ensure proper installation․ Verify the receiver has power and is within range of the controller․ For communication errors, attempt re-pairing the devices, following the outlined procedure carefully․
If problems persist, consult the full installation manual or contact a qualified technician for assistance․ Ensure all wiring connections are secure and that no interference sources are nearby․
Controller Not Responding
If the MHK2 controller isn’t responding, begin by verifying the batteries are fresh and correctly installed within the remote․ Confirm the receiver unit (MIFH2) is powered on and receiving adequate electrical supply․ Ensure there’s no physical obstruction or excessive distance hindering the wireless signal between the controller and receiver․
Attempt to re-establish the pairing connection as detailed in the ‘Pairing the MHK2 Controller’ section of this manual․ If issues continue, consult a qualified technician․
Communication Errors
Experiencing communication errors with the MHK2 system? First, check for potential interference from other wireless devices operating on the same frequency․ Verify the MRC2 cable connections are secure at both the receiver (MIFH2) and the indoor unit․ Ensure the receiver has a clear line of sight to the indoor unit, minimizing obstructions․
Try re-pairing the controller following the instructions in the manual․ If problems persist, contact a qualified HVAC technician for assistance with signal diagnostics․
FCC Compliance Information
This MHK2 RedLINK Wireless Remote Controller Kit complies with part 15 of the FCC Rules․ Operation is subject to the following two conditions: (1) This device may not cause harmful interference, and (2) this device must accept any interference received, including interference that may cause undesired operation․
Changes or modifications not expressly approved by the party responsible for compliance could void the user’s authority to operate the equipment․ FCC ID: HS9-MRCH2․
FCC ID: HS9-MRCH2
The Federal Communications Commission (FCC) has assigned the unique identifier HS9-MRCH2 to this MHK2 RedLINK Wireless Remote Controller Kit․ This ID is crucial for regulatory compliance and traceability․ It signifies that the device has been tested and meets the FCC’s standards for radio frequency emissions․
This identification is prominently displayed to ensure proper documentation and verification during inspections and compliance checks․ Refer to this FCC ID when contacting support or filing any related inquiries․

Technical Specifications
The MHK2 system operates within a defined range of technical parameters to ensure optimal performance and compatibility․ The typical operating voltage for the controller and receiver is designed for standard electrical systems, ensuring ease of integration․ Wireless communication utilizes a specific frequency band for reliable signal transmission․
Detailed specifications are vital for installers and technicians to verify compatibility with existing infrastructure and troubleshoot potential issues․ Precise voltage and frequency details are available in the full documentation․

Operating Voltage
The MHK2 system is engineered to function efficiently within a standard voltage range, typically accommodating common electrical systems found in residential and commercial settings․ Precise voltage requirements are crucial for ensuring stable operation and preventing damage to the controller and receiver components․
Confirming the power supply matches the specified voltage is a critical step during installation․ Incorrect voltage can lead to malfunction or void the warranty, so careful verification is essential․
Wireless Frequency
The MHK2 system utilizes a dedicated wireless frequency for reliable communication between the controller and receiver, ensuring seamless remote control functionality․ This frequency is specifically chosen to minimize interference from other wireless devices commonly found in homes and businesses․
Understanding the operating frequency is important for troubleshooting potential communication issues and ensuring compliance with local regulatory standards․ The system is designed for optimal performance within this designated spectrum․
Warranty Information
The MHK2 Wireless Remote Controller Kit is covered by a limited warranty against defects in materials and workmanship from the date of purchase․ Coverage details, including the warranty period and specific terms, are outlined in the separate warranty document included with your product․
For warranty claims or assistance, please have your proof of purchase readily available․ Contact information for warranty support is provided below, ensuring a streamlined process for addressing any potential issues․
Coverage Details
The MHK2 warranty safeguards against manufacturing defects for a specified period, typically one year from the original purchase date․ This warranty covers component failures affecting the controller’s functionality, including the MRCH2 controller, MIFH2 receiver, and MRC2 cable․
Warranty exclusions include damage resulting from improper installation, misuse, neglect, or unauthorized modifications․ Normal wear and tear is also not covered․ Retain your proof of purchase for validation․
Contact Information
For warranty claims, technical support, or general inquiries regarding the MHK2 system, please contact Meier Supply Co․, Inc․, the primary supplier of this kit․ Their customer service team can assist with troubleshooting, replacement parts, and installation guidance․
Visit their website or call their dedicated support line for prompt assistance․ Detailed contact information, including address and phone number, is available on their official website and product documentation․