Hunter Fan Manual: Troubleshooting & Maintenance
This comprehensive guide offers solutions for common Hunter fan problems, ensuring optimal performance and longevity.
It details troubleshooting steps, maintenance procedures, and safety guidelines for a seamless experience.
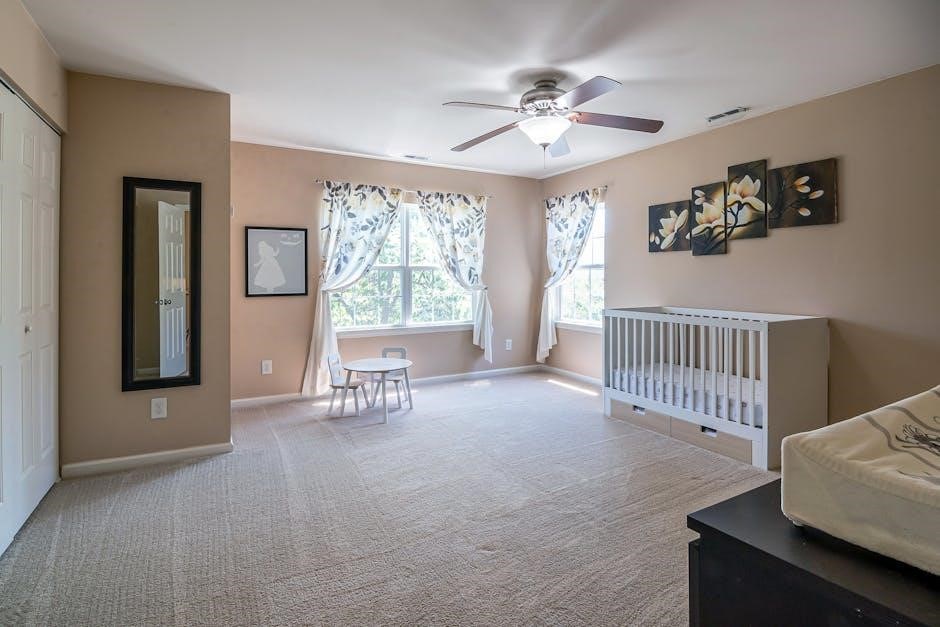
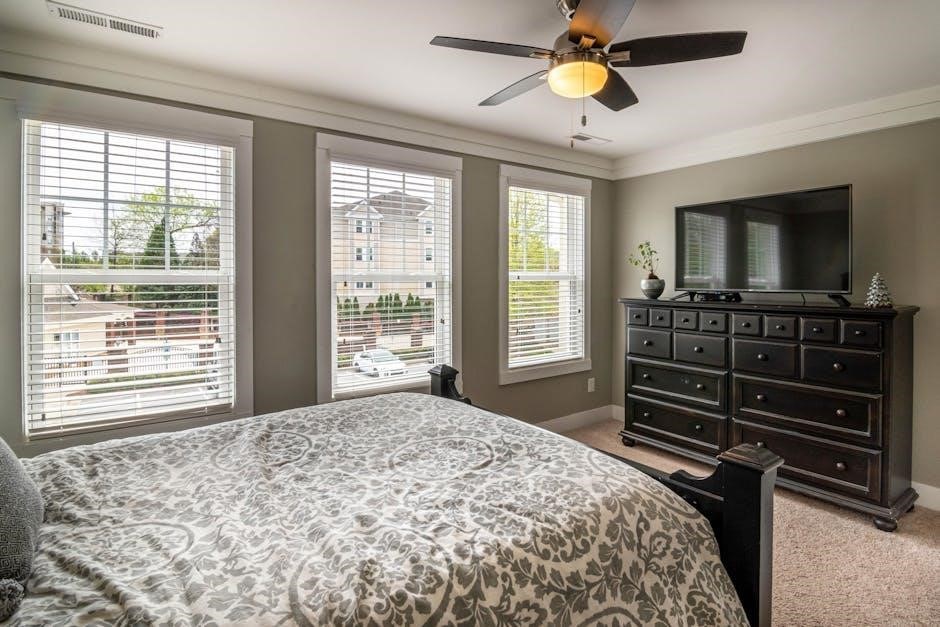
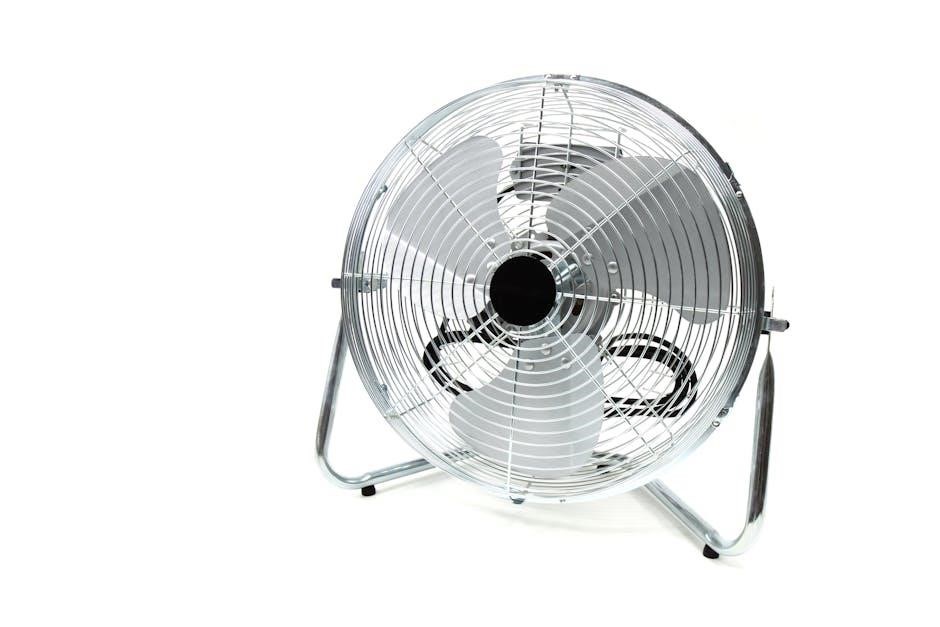
Hunter ceiling fans are renowned for their quality, style, and energy efficiency, providing comfort and enhancing home aesthetics for over a century. This manual serves as a vital resource for understanding, maintaining, and troubleshooting your Hunter fan, ensuring years of reliable operation. Whether you’ve recently purchased a new fan or own an older model, this guide will equip you with the knowledge to address common issues and perform essential upkeep.
Hunter fans come in a diverse range of designs, from traditional to contemporary, and incorporate various features like remote controls, light kits, and adjustable speeds. Understanding your specific model is crucial for effective troubleshooting. This manual will help you navigate the intricacies of your fan, empowering you to resolve problems independently and maximize its performance. Regular maintenance, as outlined within, will prolong the life of your investment.
Understanding Your Hunter Fan Model
Each Hunter fan model possesses unique characteristics, influencing its operation and maintenance requirements. Locating your fan’s model number – typically found on a sticker near the motor housing – is the first step towards accessing specific documentation and support. This number unlocks access to detailed diagrams, parts lists, and tailored troubleshooting guides on the Hunter website.
Familiarize yourself with the components of your fan, including the motor, blades, light kit (if applicable), remote control receiver, and pull chains. Understanding how these parts interact is essential for diagnosing issues. Note any specific features, such as reversible blades for seasonal airflow adjustments or integrated smart home compatibility. Referencing your model’s specific manual will provide clarity on these features and their optimal usage, ensuring peak performance and longevity.
Troubleshooting Common Issues
Addressing typical Hunter fan problems like flickering lights, remote control malfunctions, or noisy operation is often straightforward with basic diagnostic steps and solutions.
Flickering Lights: Identifying the Cause
Flickering lights on your Hunter ceiling fan can be frustrating, but thankfully, pinpointing the source is often achievable; Several factors contribute to this issue, ranging from simple fixes to more complex electrical concerns. Begin by checking the light bulbs themselves; ensure they are securely screwed in and of the correct wattage specified for your fan model.
Incompatible dimmer switches are a frequent culprit, as not all dimmers are designed to work with ceiling fan lights. Loose wiring connections within the fan’s housing or at the wall switch can also cause intermittent power flow, resulting in flickering. A faulty receiver, particularly in fans with remote controls, can disrupt the signal and lead to light instability. Finally, consider the possibility of a failing light kit component, though this is less common.
Loose Wiring Connections

Addressing loose wiring is crucial for safety and functionality. Before inspecting any wiring, always disconnect power at the circuit breaker to prevent electrical shock. Carefully access the fan’s wiring compartment, typically located under the canopy. Visually inspect all wire connectors – wire nuts or push-in connectors – ensuring they are firmly attached and show no signs of corrosion or damage.
Gently tug on each wire to confirm a secure connection. If a wire feels loose, carefully re-twist the wires together and secure with a new wire nut, or firmly re-seat push-in connectors. Don’t forget to check the wiring connections at the wall switch as well. Loose connections can cause flickering lights, intermittent operation, or even complete fan failure. If you’re uncomfortable working with electrical wiring, consult a qualified electrician.
Dimmer Switch Compatibility
Using an incompatible dimmer switch with your Hunter ceiling fan can lead to flickering lights or erratic fan operation. Not all dimmer switches are designed to work with the motors and lighting systems found in ceiling fans. Specifically, many older dimmer switches are not compatible with LED bulbs, which are increasingly common in Hunter fan light kits.
Always verify that your dimmer switch is specifically rated for use with ceiling fans and LED bulbs. Look for dimmers labeled “Universal” or “LED Compatible.” If you’re experiencing issues after installing a dimmer, try replacing it with a dimmer specifically designed for fans. Incorrect dimmers can also damage the fan’s control module or motor over time, so compatibility is essential for both performance and longevity.
Bulb Issues: Type and Wattage
Flickering lights or a complete lack of illumination can often be traced back to the light bulbs themselves. Ensure you’re using the correct type and wattage of bulb as specified in your Hunter fan’s manual. Using bulbs with a higher wattage than recommended can overheat the fixture and potentially cause a fire hazard, while incorrect bulb types may not function properly with the fan’s lighting system.
LED bulbs are generally recommended for their energy efficiency and longevity, but confirm compatibility. Regularly check bulbs for signs of burnout or damage. A loose bulb can also cause flickering; ensure each bulb is securely screwed into its socket. If you’ve recently replaced the bulbs, double-check that the new bulbs are fully compatible with your fan model.
Remote Control Problems: Battery & Syncing
If your Hunter fan remote isn’t responding, the first step is to check the batteries. Replace them with fresh batteries, ensuring correct polarity. If the remote still doesn’t work, the remote may need to be re-synced to the fan receiver. To sync, typically you’ll need to turn the power off to the fan, then back on, and quickly press the sync button on both the receiver (usually located inside the fan canopy) and the remote within a specific timeframe – consult your manual for exact instructions.
A successful sync is often indicated by the fan turning on low speed. If syncing fails repeatedly, consider the receiver might be faulty and require replacement. Ensure no other devices are interfering with the remote’s signal.
Receiver Issues & Replacement
The receiver is the component within your Hunter fan that allows the remote control to communicate with the fan’s motor and light kit. If you’ve exhausted troubleshooting steps for the remote – batteries, syncing – and the fan still doesn’t respond, the receiver is a likely culprit. Symptoms of a faulty receiver include inconsistent operation, inability to sync the remote, or the fan operating erratically.
Replacing the receiver typically involves disconnecting the old unit and wiring in a new one, matching the wire connections carefully. Hunter offers replacement receivers specifically designed for their fans; ensure compatibility with your model. If you’re uncomfortable working with electrical wiring, it’s best to consult a qualified electrician for safe and proper installation.
Hunter Fan Remote Control Troubleshooting
Addressing remote issues is often straightforward, involving battery checks, resyncing procedures, and verifying operational range for seamless fan control and optimal functionality.
Remote Not Responding
If your Hunter fan remote isn’t responding, begin with the simplest solutions. First, confirm that fresh batteries are correctly installed, paying attention to polarity. A common oversight is inserting batteries incorrectly. Next, ensure there are no obstructions between the remote and the fan’s receiver.
Consider the distance; exceeding the remote’s range can cause connectivity issues. Try moving closer to the fan. If the problem persists, the receiver itself might be faulty, requiring inspection or replacement.
Occasionally, interference from other devices can disrupt the signal. Temporarily turn off nearby electronics to rule out interference. Finally, attempt a full reset of both the remote and the fan, following the instructions in your Hunter fan manual for specific reset procedures. A reset can often resolve software glitches preventing communication.
Syncing the Remote to the Fan
Successfully syncing your Hunter fan remote is crucial for convenient control. Begin by ensuring the fan has power – verify the circuit breaker and wall switch are on. Then, locate the learn or sync button on the fan’s receiver or motor housing; consult your manual for its exact location.
Typically, you’ll need to turn the fan’s power off and on again a specific number of times (often three) within a short timeframe. Immediately after the final power-on, press and hold the sync button on the remote.
Your fan should respond with a low-speed rotation or a light flash to indicate successful syncing. If it doesn’t, repeat the process, ensuring timing is precise. Refer to page 16 of the manual for detailed instructions specific to your model.
Replacing Remote Batteries
A common fix for a non-responsive Hunter fan remote is simply replacing the batteries. Most Hunter remotes require AAA or AA batteries, though always confirm the correct type specified in your owner’s manual. Carefully open the battery compartment, usually located on the back of the remote, and remove the old batteries.
Ensure correct polarity when inserting the new batteries – match the positive (+) and negative (-) ends to the markings inside the compartment. A secure fit is essential for reliable operation. After replacing the batteries, test the remote by attempting to control the fan’s speed or light functions.
If the remote still doesn’t work, double-check the battery installation and consider re-syncing the remote with the fan, as described in the syncing instructions.
Checking Remote Range
Hunter fan remotes operate within a specific range, typically around 30 feet, but obstructions can significantly reduce this distance. To troubleshoot remote issues, verify you’re within the effective range of the fan. Walls, furniture, and even certain types of lighting can interfere with the signal.
Test the remote from various locations within the room, gradually increasing the distance from the fan. If the remote works closer to the fan but fails further away, range is likely the issue. Avoid aiming the remote through solid objects.
Ensure a clear line of sight between the remote and the fan’s receiver. If range remains a problem, consider relocating the fan or minimizing obstructions.

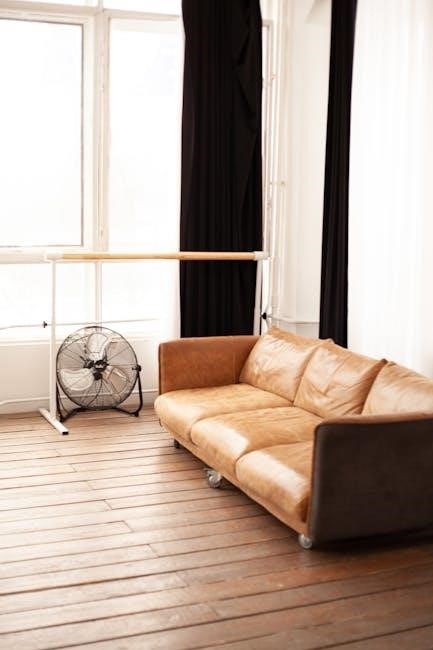
Motor & Blade Issues
Addressing motor and blade concerns is crucial for quiet, efficient fan operation. This section details cleaning, balancing, and potential component replacement procedures.
Noisy Operation: Identifying the Source
A noisy Hunter ceiling fan can be disruptive, but pinpointing the cause is often straightforward. Begin by determining the type of noise – a hum, click, rattle, or wobble. A humming sound often indicates a motor issue, potentially a capacitor needing replacement or bearing wear. Clicking noises frequently stem from loose connections within the motor housing or light kit. Rattling suggests loose screws on the blade irons, the light fixture, or the mounting bracket.
Wobbling is usually a blade balancing problem. Carefully inspect each blade for damage or inconsistencies in weight. Ensure all screws are tightened securely. If the noise persists, systematically tighten all screws associated with the fan’s assembly. Cleaning the blades and motor housing can also eliminate dust buildup contributing to the noise. Remember to always disconnect power before any inspection or maintenance!
Cleaning Fan Blades & Motor
Regular cleaning is crucial for maintaining your Hunter fan’s performance and preventing noise; Before starting, always disconnect power at the circuit breaker to avoid electrical shock. Use a soft, lint-free cloth dampened with a mild cleaning solution to wipe down the fan blades. Avoid abrasive cleaners, as they can damage the finish. For stubborn dirt, a slightly damp cloth with a small amount of dish soap can be effective.
To clean the motor housing, use a dry cloth or a lightly dampened one. Never spray liquids directly onto the motor. Dust accumulation can cause imbalances and noise, so thorough cleaning is essential. Pay attention to the blade irons and mounting bracket, removing any accumulated dust or debris. A clean fan operates more efficiently and quietly, extending its lifespan.
Balancing Fan Blades
If your Hunter fan wobbles, balancing the blades is essential for safe and quiet operation. Most Hunter fans include a balancing kit with clip-on weights. Begin by turning the fan on and observing which blades are causing the wobble. Temporarily attach a clip to the suspected blade, midway between the blade holder and the tip.
If the wobble improves, add another clip. If it worsens, move the clip to a different blade. Continue this process until the wobble is minimized. Once you find the correct blade and position, replace the clip with a permanent weight. Repeat the process if necessary, using multiple weights if required. Proper blade balancing ensures stability and prevents potential damage.
Motor Capacitor Replacement
A failing motor capacitor is a common cause of a Hunter fan not starting or running at the correct speed. Before attempting replacement, disconnect power at the breaker! Locate the capacitor, usually housed within the fan’s motor housing. Carefully note the capacitor’s microfarad (µF) rating and voltage – it’s crucial to use an exact replacement.
Disconnect the wires from the old capacitor, noting their positions. Connect the new capacitor’s wires identically. Secure the new capacitor in place. Reassemble the motor housing and restore power. If the fan still doesn’t operate correctly, double-check the wiring and capacitor rating. If unsure, consult a qualified electrician.
Installation & Safety
Proper installation and adherence to safety precautions are paramount when working with Hunter fans, ensuring secure mounting and preventing electrical hazards.
Checking Power Supply & Circuit Breaker
Before diving into more complex troubleshooting, always begin with the simplest checks: verifying the power supply to your Hunter ceiling fan. A seemingly complex issue can often be traced back to a tripped circuit breaker or a disconnected power source. First, locate the circuit breaker that controls the fan – typically labeled in your electrical panel.
Ensure the breaker is in the “ON” position. If it’s tripped (moved to the “OFF” or middle position), reset it by fully switching it to “OFF” and then back to “ON”. Next, confirm the wall switch controlling the fan is also turned on. If the breaker continues to trip, or the fan still doesn’t power on, there might be a short circuit requiring professional attention. Always disconnect power before inspecting wiring.
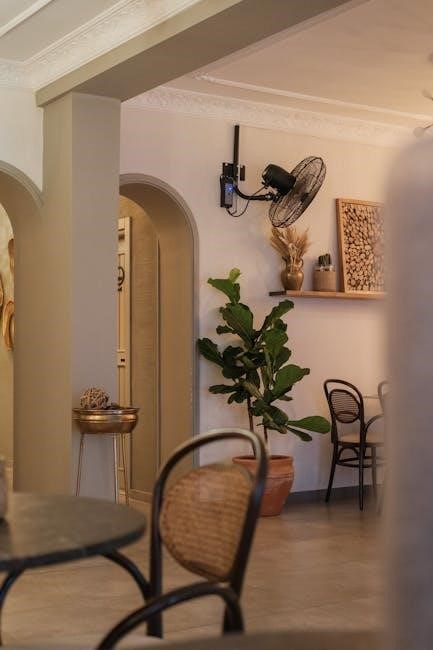
Secure Mounting & Bracket Inspection
A securely mounted Hunter ceiling fan is paramount for safety and quiet operation. Regularly inspect the mounting bracket and ensure it’s firmly attached to the ceiling joist. Any looseness can cause wobbling, noise, and potentially dangerous situations. Carefully examine the screws connecting the bracket to the joist; tighten any that appear loose, but avoid over-tightening, which could strip the wood.
Check the downrod (if applicable) for proper seating within the mounting bracket. Verify that all screws and bolts associated with the fan’s assembly are snug. If you notice any cracks or damage to the bracket itself, it’s crucial to replace it immediately. A compromised bracket poses a significant safety risk and should not be used.
Proper Blade Installation
Correct blade installation is vital for balanced operation and optimal airflow. Begin by ensuring each blade is securely fastened to the blade irons using the provided screws. Tighten these screws firmly, but avoid over-tightening, which could damage the blades. Confirm that all blades are installed with the correct orientation – typically, the curved side faces upwards to maximize airflow.
When attaching the blade irons to the motor housing, ensure they are evenly spaced and securely screwed in. Uneven blade installation is a primary cause of fan wobble. Double-check that all blades are the same distance from the ceiling. If wobble persists after installation, proceed to the blade balancing section of this manual.
Safety Precautions During Maintenance
Prioritize safety when performing any maintenance on your Hunter ceiling fan. Always disconnect power to the fan at the circuit breaker or wall switch before beginning any work. Never attempt repairs while the fan is energized. Use a stable ladder or platform to reach the fan, ensuring it’s placed on a level surface.
Wear appropriate safety glasses to protect your eyes from falling debris. If replacing bulbs, allow them to cool completely before handling. Be cautious when working with electrical components; if you’re uncomfortable, consult a qualified electrician. Avoid using harsh chemicals or abrasive cleaners, as they can damage the fan’s finish.
Advanced Troubleshooting
For persistent issues, explore complex problems like faulty pull chains or light kits. When problems escalate, professional assistance is often the safest and most effective solution.
Hunter Fan Not Turning On
If your Hunter fan completely fails to operate, a systematic approach to troubleshooting is crucial. Begin by verifying the power supply; ensure the circuit breaker hasn’t tripped and the wall switch is firmly in the ‘on’ position. A simple reset of the breaker can often resolve unexpected power interruptions. Next, carefully inspect all wiring connections within the fan’s housing and at the wall switch, looking for any loose or disconnected wires.
Confirm the remote control has fresh batteries and is properly synced to the fan receiver. If the fan has a pull chain, test its functionality – a faulty pull chain can prevent the motor from engaging. If none of these steps restore power, the issue may lie within the fan’s motor or its internal components, potentially requiring professional diagnosis and repair. Remember to always disconnect power before inspecting any wiring.
Identifying a Faulty Pull Chain
A malfunctioning pull chain is a common cause for a Hunter fan failing to respond. To diagnose this, gently pull the chain several times, listening for a distinct clicking sound within the fan’s motor housing. The absence of a click suggests a disconnection or breakage within the chain mechanism. Carefully inspect the chain itself for any visible damage, such as fraying or separation of links.
If the chain appears intact, the issue might reside within the internal switch it operates. Accessing this switch usually requires disassembling part of the fan’s housing – always disconnect power before attempting this! If you’re uncomfortable with electrical work, it’s best to consult a qualified electrician. Replacing a faulty pull chain switch is often a straightforward repair, restoring full control of your fan’s operation.
Troubleshooting the Light Kit
When the light kit on your Hunter fan isn’t functioning, begin by verifying the bulb is securely screwed in and hasn’t burned out. If the bulb is good, check the light kit’s wiring connections, ensuring they are firmly attached and free from corrosion. A loose wire can easily interrupt the electrical flow.
Inspect the light kit’s switch, often integrated into the fan’s pull chain system, for proper operation. If the switch seems faulty, it may require replacement. Always disconnect power before inspecting or repairing any wiring! Some light kits utilize a separate fuse; locate and check this fuse for continuity. If problems persist, consult the fan’s wiring diagram to trace the circuit and identify potential breaks or shorts.
When to Call a Professional
While many Hunter fan issues are DIY-friendly, certain situations demand a qualified electrician’s expertise. If you’re uncomfortable working with electrical wiring, or if troubleshooting steps haven’t resolved the problem, prioritize safety and seek professional help. Never attempt repairs beyond your skill level!
Specifically, call a professional if you suspect a faulty motor, experience persistent sparking or burning smells, or encounter issues with the fan’s mounting or structural integrity. Complex wiring problems, especially those involving the home’s electrical system, require a licensed electrician. Ignoring these warning signs could lead to fire hazards or further damage. Prioritize safety and avoid risks!