
Eureka Vacuum Manual: A Comprehensive Guide
This manual provides essential guidance for optimal Eureka vacuum performance, covering troubleshooting, maintenance, and warranty details for lasting satisfaction.
Eureka has a rich history, originating in 1909, and has become a trusted name in home cleaning for over a century. Renowned for innovation and durability, Eureka vacuums are designed to deliver powerful suction and reliable performance. This manual serves as a comprehensive resource for all Eureka vacuum owners, ensuring they can maximize the lifespan and effectiveness of their cleaning appliance.
From uprights to central vacuum systems, Eureka offers a diverse range of models to suit various cleaning needs and floor types. Understanding your specific model is crucial for proper operation and maintenance. This guide will walk you through common issues, preventative care, and warranty information, empowering you to maintain a clean and healthy home environment with your Eureka vacuum. The partnership with retailers like John Lewis has further solidified Eureka’s presence in the market.
Understanding Your Eureka Model
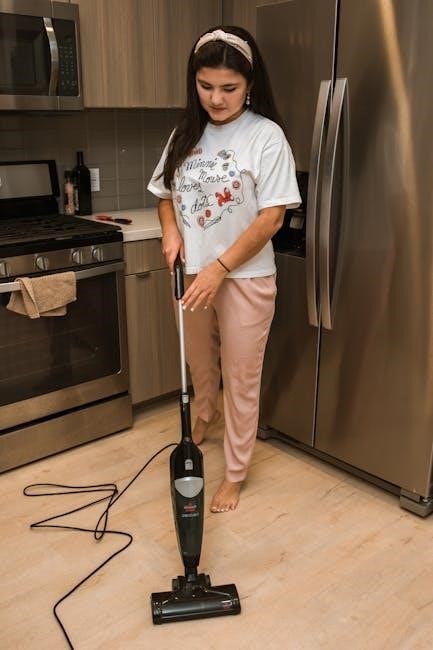
Each Eureka vacuum model possesses unique features and specifications. Before operation, familiarize yourself with the components specific to your unit – from the dust cup or bag capacity to the various attachments included. Refer to the diagrams within this manual to identify key parts like the brush roll, filters, and hose connections.
Understanding the controls – power switch, suction settings, and brush roll activation – is essential for efficient cleaning. Note the type of filtration system your model utilizes, as this impacts maintenance schedules. Knowing whether you have a bagged or bagless system dictates cleaning procedures. John Lewis stores often provide detailed model information and demonstrations. Proper understanding ensures optimal performance and prevents potential damage, extending the life of your Eureka vacuum.
Troubleshooting Common Issues
Addressing performance dips promptly is key. This section details solutions for suction loss, full dust containers, clogs, motor problems, and filter issues.
Loss of Suction: Identifying the Cause
Reduced suction power is a frequent concern with Eureka vacuums, but often easily resolved. The first step is verifying the vacuum bag or dust cup isn’t full – a common culprit. Next, meticulously inspect the hose and attachments for any blockages, carefully removing debris. A clogged filter significantly restricts airflow; cleaning or replacing it is crucial.
Don’t overlook the blower wheel! Attempt to turn it manually. Resistance indicates an obstruction needing removal. Ensure all vacuum motors within the power unit are functioning correctly. Finally, check power unit gaskets for cracks, as these can lead to suction leaks. Addressing these points systematically will restore your Eureka’s cleaning power.
Full Vacuum Bag or Dust Cup
A full vacuum bag or dust cup is the most straightforward cause of reduced suction in your Eureka vacuum. Regularly checking and emptying these components is vital for maintaining optimal performance. Refer to your specific model’s instructions for locating and accessing the bag or dust cup.
For bagged models, ensure the bag is properly seated and the filler is not exceeding the maximum fill line. With bagless models, thoroughly empty the dust cup, removing any compacted debris. Consider cleaning the dust cup with mild soap and water, ensuring it’s completely dry before re-installation. Ignoring a full container severely limits airflow and strains the motor.
Clogged Hoses and Attachments
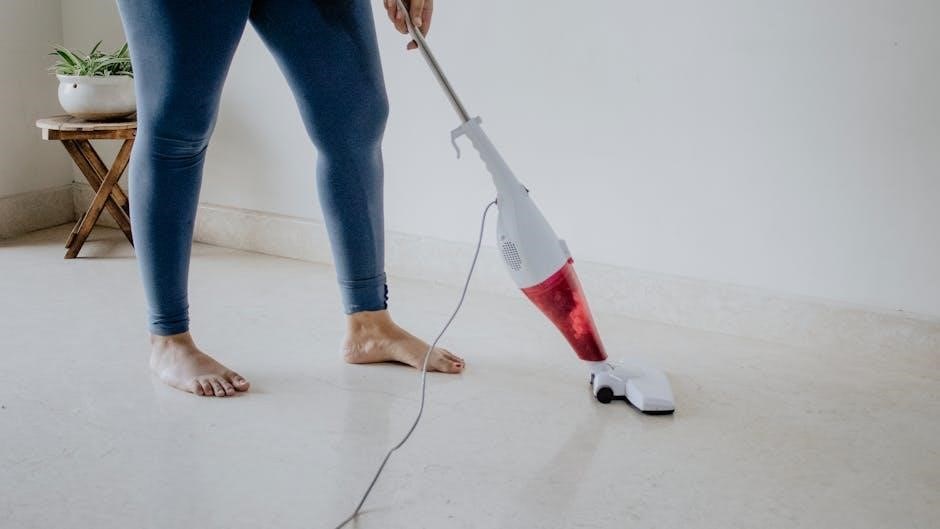
Reduced suction can often be traced to obstructions within the hose or attachments of your Eureka vacuum. Detach the hose and carefully inspect it for blockages – common culprits include large debris, hair, or tightly wound cords. Use a long, flexible object, like a broom handle, to gently dislodge any obstructions.
Similarly, examine all attachments (crevice tools, dusting brushes, etc.) for clogs. Ensure they are clear and airflow isn’t restricted. A partially blocked attachment can significantly diminish overall suction power. Regularly checking and clearing these pathways prevents strain on the motor and ensures efficient cleaning. Remember to reconnect all parts securely after inspection.
Blocked Filters: Cleaning and Replacement
Maintaining clean filters is crucial for your Eureka vacuum’s performance and longevity. Clogged filters restrict airflow, leading to reduced suction and potential motor overheating. Regularly check your vacuum’s filters – typically HEPA filters and foam/felt pre-filters – for dust and debris accumulation.
Most filters are washable; rinse them gently with cool water and allow them to dry completely before reinstalling. Replace disposable filters according to the manufacturer’s recommendations (usually every 3-6 months, or more frequently with heavy use). Ignoring filter maintenance can void your warranty and significantly impact cleaning effectiveness. A clean filter ensures optimal suction and air quality.
Motor Issues: Recognizing Problems
Several signs indicate potential motor problems with your Eureka vacuum. A burning smell is a critical warning sign – immediately turn off and unplug the vacuum. Diminished suction, even after filter checks and hose inspections, can also point to a motor issue. If the vacuum struggles to start, or shuts off unexpectedly during operation, the motor may be overheating or failing.
Listen for unusual noises, like grinding or squealing, which suggest internal motor damage. Do not attempt to disassemble or repair the motor yourself; this can be dangerous and will likely void your warranty. Contact an authorized repair center for professional diagnosis and repair; Ignoring motor issues can lead to complete vacuum failure.

Maintenance and Care
Regular upkeep—filter cleaning, brush roll checks, and hose inspection—ensures peak performance and extends the lifespan of your Eureka vacuum cleaner.
Filter Maintenance Schedule
Maintaining clean filters is crucial for consistent suction power. Eureka vacuums utilize various filter types, demanding a specific maintenance routine. Foam filters should be washed monthly with mild soap and water, ensuring they are completely dry before reinstallation. HEPA filters, vital for trapping allergens, require checking every three months; replace them annually, or more frequently with heavy use.
Regularly inspect filters for damage or excessive debris. A clogged filter significantly reduces airflow, straining the motor and diminishing cleaning effectiveness. Ignoring filter maintenance can lead to overheating and potential motor failure. Refer to your specific Eureka model’s manual for precise filter locations and replacement part numbers. Proactive filter care guarantees optimal vacuum performance and a healthier home environment.
Brush Roll Cleaning and Inspection
The brush roll is fundamental to your Eureka vacuum’s cleaning ability. Regularly inspect it for tangled hair, threads, and debris – at least monthly, or more often with pet ownership. Power off and unplug the vacuum before any brush roll maintenance. Most models allow easy access to the brush roll for cleaning. Carefully remove any wrapped materials using scissors or a seam ripper, avoiding damage to the bristles.
Also, check the brush roll bearings for smooth rotation. If the brush roll doesn’t spin freely, lubrication may be needed (refer to your model’s manual). Inspect the bristles for wear and tear; replace the brush roll if bristles are significantly worn or damaged. A clean, functioning brush roll ensures effective agitation and optimal dirt removal from carpets and floors.

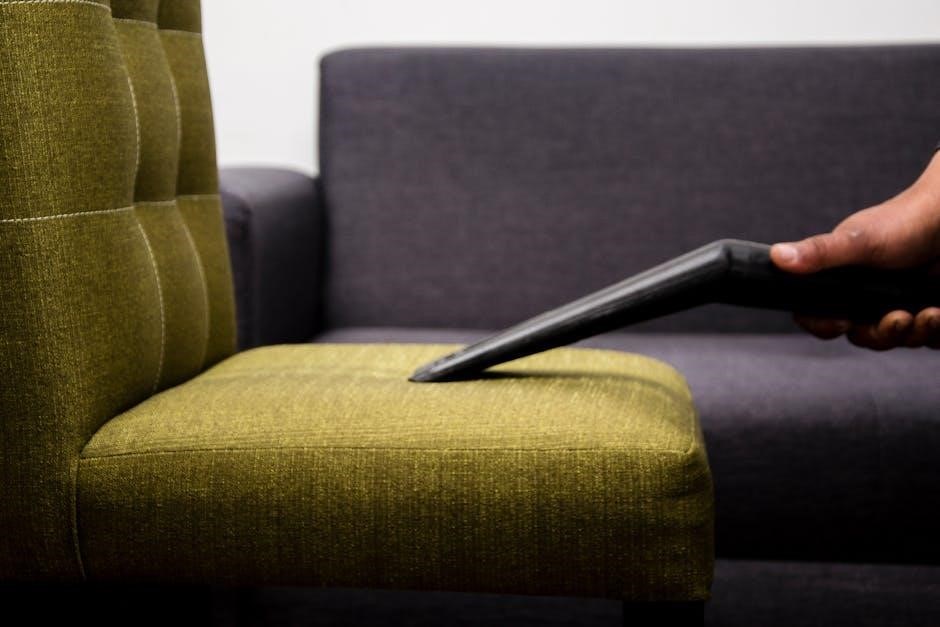
Hose and Attachment Inspection
Regularly inspect your Eureka vacuum’s hose and attachments for cracks, holes, or blockages. A damaged hose significantly reduces suction power and cleaning effectiveness. Check the hose connections to the vacuum body and attachments, ensuring a secure fit. Detach the hose and visually examine its entire length, flexing it to reveal any hidden damage.
Similarly, inspect attachments like crevice tools and dusting brushes for obstructions or damage. Clear any blockages with a long, flexible object. Ensure attachments connect securely to the hose and vacuum. Replace damaged hoses or attachments promptly to maintain optimal performance. A clear and intact hose and attachment system is crucial for efficient dirt and debris removal throughout your home.
Power Cord Safety Checks
Prioritize safety by routinely inspecting your Eureka vacuum’s power cord for any signs of damage. Carefully examine the entire length of the cord, looking for cuts, fraying, or exposed wires. Never operate the vacuum if the power cord is damaged, as this presents a serious electrical shock hazard. Before each use, ensure the cord is not wrapped tightly around the vacuum body, preventing overheating and potential damage.
Avoid using extension cords unless absolutely necessary, and if used, ensure they are heavy-duty and properly grounded. Do not attempt to repair a damaged power cord yourself; instead, contact an authorized repair center for assistance. Proper power cord maintenance is vital for safe and reliable vacuum operation, protecting both you and your appliance.
Advanced Troubleshooting
For complex issues, inspect the blower wheel for obstructions and check electrical components; motor overheating protection is also crucial for diagnosis.
Blower Wheel Obstructions
A common cause of reduced suction power lies within obstructions affecting the blower wheel’s rotation. To diagnose this, carefully disconnect the vacuum from the power source. Accessing the blower wheel typically requires disassembling parts of the vacuum housing – consult your specific model’s diagrams for guidance.
Once accessible, attempt to turn the blower wheel manually. If it doesn’t rotate freely, carefully inspect for tangled debris like hair, string, or larger objects. Remove any obstructions found, ensuring the wheel spins smoothly. A freely rotating blower wheel is vital for generating adequate suction. Reassemble the vacuum, ensuring all connections are secure, and test its performance. Ignoring this issue can lead to motor strain and potential damage.
Motor Overheating Protection
Eureka vacuums are equipped with thermal protection features to prevent motor damage from overheating; If your vacuum shuts off unexpectedly during use, this is likely the cause. Allow the motor to cool down completely – typically 30-60 minutes – before attempting to restart it. Repeated overheating indicates an underlying issue needing attention.
Common causes include blocked filters, a full dust cup/bag, or obstructions in the hose or blower wheel. Address these potential problems before resuming operation. Avoid continuous vacuuming of excessively dusty or dirty areas, as this increases the risk of overheating. If the problem persists after addressing these factors, a professional repair may be necessary to diagnose and resolve potential motor or electrical component failures.
Electrical Component Checks
Prior to any electrical component inspection, ALWAYS disconnect the vacuum from the power outlet. Carefully examine the power cord for any signs of damage – cuts, fraying, or exposed wires. A damaged cord presents a serious safety hazard and must be replaced by a qualified technician.
Check the vacuum’s internal wiring for loose connections or burnt components. This requires disassembly and should only be performed by someone experienced in appliance repair. Look for any signs of overheating around the motor or control board. If you suspect a faulty electrical component, do not attempt to repair it yourself; contact an authorized repair center or Eureka customer support for assistance. Ignoring electrical issues can lead to fire or electric shock.

Warranty and Support
Eureka offers a 90-day satisfaction guarantee, alongside accessible authorized repair centers and dedicated customer support for assistance with your vacuum.
90-Day Satisfaction Guarantee
Eureka stands behind the quality of its central vacuum systems with a comprehensive 90-day satisfaction guarantee. This guarantee, effective from the original purchase date, ensures total customer contentment. Should your Eureka vacuum not perform as advertised within this period, you are entitled to a hassle-free resolution.
Customers can return the unit to their authorized dealer for a straightforward exchange, a full refund of the purchase price, or even credit towards an upgrade to a more advanced model. This commitment reflects Eureka’s confidence in its products and dedication to providing exceptional value. Proof of purchase is required to claim this guarantee, so please retain your receipt.
Finding Authorized Repair Centers
To ensure your Eureka vacuum receives expert service, utilizing authorized repair centers is highly recommended. These centers employ trained technicians familiar with Eureka’s specific designs and components, guaranteeing quality repairs and maintaining your vacuum’s warranty validity.
Locating an authorized service provider is simple. Visit the official Eureka website and utilize their dedicated “Service Locator” tool. This interactive map allows you to search by zip code or city to identify nearby authorized centers. Alternatively, you can contact Eureka’s customer support team directly for assistance in finding a reputable repair facility in your area. Using non-authorized services may void your warranty and potentially cause further damage.
Contacting Eureka Customer Support
Should you require direct assistance with your Eureka vacuum, their dedicated customer support team is readily available. Eureka prioritizes customer satisfaction and offers multiple channels for reaching their support specialists.
You can connect with Eureka via phone during their business hours, typically Monday through Friday. Their official website provides a comprehensive “Contact Us” page, listing the appropriate phone number and email address for various inquiries. Furthermore, many frequently asked questions are addressed in their detailed online knowledge base, potentially resolving your issue quickly. When contacting support, have your model number and purchase date readily available to expedite the assistance process. Prompt and helpful service is a cornerstone of the Eureka experience.

Eureka Vacuum History & John Lewis Connection
Founded in 1909, Eureka partnered with John Lewis in 1929, a retail relationship evolving with John Lewis’ store transformations by 2027.
The Founding of Eureka (1909)
Eureka’s story began in 1909, marking the dawn of a new era in home cleaning technology. Initially focused on producing portable vacuum cleaners, the company quickly gained recognition for its innovative designs and commitment to quality. This early success stemmed from a dedication to simplifying household chores and providing effective cleaning solutions for families.
The name “Eureka,” derived from the Greek exclamation of discovery, perfectly encapsulated the brand’s spirit of innovation. Early Eureka models were revolutionary for their time, offering a lighter and more convenient alternative to the bulky, stationary vacuum cleaners previously available. This focus on portability and user-friendliness established Eureka as a leader in the burgeoning vacuum cleaner market, setting the stage for decades of continued growth and development.
John Lewis & Eureka: Retail Partnership
The partnership between John Lewis and Eureka represents a longstanding commitment to providing customers with high-quality home appliances and exceptional service. For many years, John Lewis has been a trusted retailer of Eureka vacuum cleaners, recognizing the brand’s dedication to innovation and reliability.
This collaboration allows John Lewis to offer its discerning clientele a diverse range of Eureka models, catering to various cleaning needs and preferences. Customers benefit from the expertise of John Lewis’s knowledgeable staff, who can provide guidance in selecting the perfect Eureka vacuum for their homes. The John Lewis Sale, offering up to 50% off, frequently includes Eureka products, enhancing the value proposition for shoppers. This enduring retail relationship underscores both brands’ commitment to customer satisfaction.
John Lewis Store Transformation (2026-2027)
John Lewis is undergoing a significant transformation of 32 of its stores between 2026 and 2027, aiming to enhance the shopping experience and adapt to evolving consumer needs. This includes partnerships with firms like Benugo to integrate more catering options, creating destination stores.
While the primary focus isn’t solely on vacuum cleaners, these renovations will undoubtedly impact how Eureka products are displayed and sold. Expect refreshed floor layouts, potentially dedicated appliance sections, and improved customer service areas. The goal is to create a more engaging and informative environment for shoppers considering a Eureka vacuum purchase. This modernization will ensure John Lewis remains a premier retailer for quality home appliances, including Eureka, for years to come, blending tradition with contemporary living.