Vivitar Drone Manual: A Comprehensive Guide
Welcome to the definitive resource for your Vivitar drone! This manual covers models like the DRC-888, DRCSC42-BLK-T57-2, DRCLS16-NOC-STK-2, and DRC-188,
providing detailed instructions for setup, flight, and maintenance.
Vivitar drones offer an accessible entry point into the world of aerial photography and videography, catering to both beginners and enthusiasts. With a range of models available – including the DRC-888, DRCSC42-BLK-T57-2, DRCLS16-NOC-STK-2, and DRC-188 – Vivitar provides options for various skill levels and flying preferences.
These drones typically feature user-friendly controls, integrated cameras for capturing photos and videos, and connectivity options for smartphones and tablets via WiFi. Many models, like the DRC-888, boast GPS functionality for stable flight and precise positioning. The DRCSC42-BLK-T57-2 emphasizes real-time 4K video transmission, while the DRCLS16-NOC-STK-2 is geared towards faster-paced racing experiences. The DRC-188 is a lightweight option, ideal for casual flying.
This manual aims to provide comprehensive guidance on operating your Vivitar drone safely and effectively, covering everything from initial setup and pre-flight checks to flight controls, troubleshooting, and routine maintenance. Whether you’re a first-time drone pilot or looking to expand your aerial capabilities, this guide will equip you with the knowledge needed to enjoy your Vivitar drone to the fullest.
Understanding Vivitar Drone Models
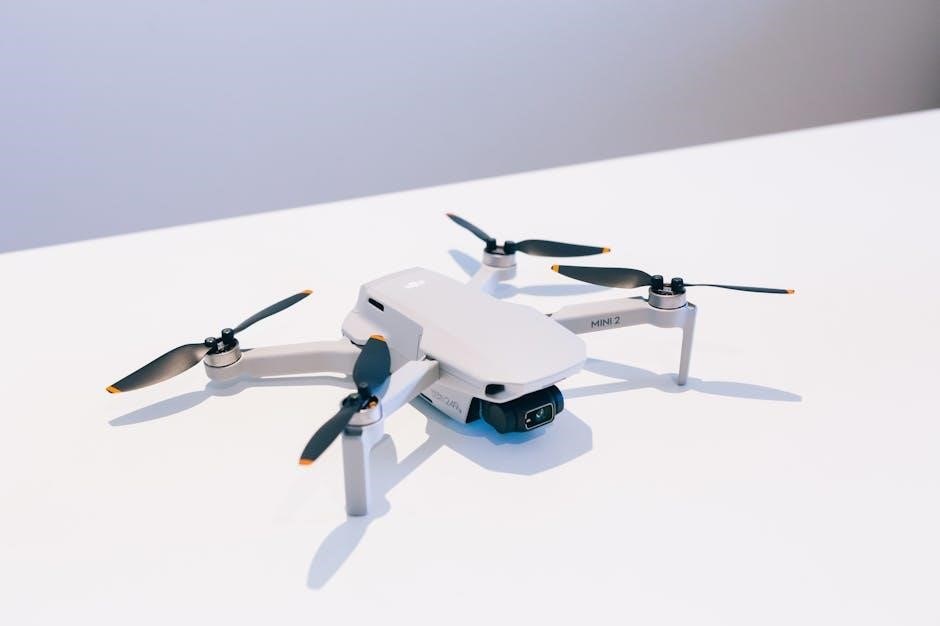
Vivitar’s drone lineup caters to diverse needs, from casual flyers to aspiring aerial photographers and racers. The Vivitar DRC-888 stands out with its 360 Sky View capability, WiFi connectivity, a 16-megapixel camera, and dual GPS modules for enhanced stability and accurate positioning. It’s designed for user-friendly operation and capturing high-definition video.
The Vivitar DRCSC42-BLK-T57-2 prioritizes immersive flight experiences, offering real-time 4K video transmission and a maximum flight time of 18 minutes. This model is ideal for those seeking high-quality aerial footage. Conversely, the Vivitar DRCLS16-NOC-STK-2 is a racing drone, built for speed and agility, though currently unavailable in new condition.
Finally, the Vivitar DRC-188 is a lightweight and accessible option, perfect for beginners. It features a built-in camera and easy-to-use remote control, making it a great starting point for exploring the world of drones. Understanding these key differences will help you choose the model best suited to your individual flying style and requirements.
Vivitar DRC-888: Features and Specifications
The Vivitar DRC-888 is a feature-rich drone designed for both beginners and enthusiasts. Its standout capability is the 360 Sky View, allowing for panoramic aerial perspectives. Equipped with WiFi connectivity, it seamlessly pairs with iOS and Android devices for real-time viewing and control.
This drone boasts a 16-megapixel camera, capable of capturing detailed photos and Full HD video recordings. The integrated dual GPS module significantly enhances flight stability, enabling precise positioning and automated return-to-home functionality. This ensures safer and more controlled flights, even in challenging conditions.
Key specifications include its user-friendly interface, making it easy to operate, and its compact design for portability. While specific flight time details aren’t explicitly stated, the DRC-888 is positioned as an accessible entry point into drone technology. It’s a versatile option for capturing aerial footage and enjoying the thrill of flight.
Vivitar DRCSC42-BLK-T57-2: Key Highlights
The Vivitar Sky View DRCSC42-BLK-T57-2 drone distinguishes itself with 4K video transmission capabilities, delivering crisp and detailed aerial footage in real-time. This model is designed for First-Person View (FPV) flying, immersing the pilot in the experience.
A significant feature is its maximum flight time of 18 minutes, allowing for extended aerial exploration and content creation. The drone records video in Full HD (1080p) resolution, balancing quality and storage efficiency. Control is managed via a remote control, providing a traditional and responsive flying experience.
While currently unavailable in new condition as of February 18, 2025, the DRCSC42-BLK-T57-2 maintains appeal for those seeking a drone with strong video capabilities. Customer reviews average 3 out of 5 stars, indicating a generally positive user experience. It’s a solid option for capturing aerial perspectives and enjoying FPV flight.
Vivitar DRCLS16-NOC-STK-2: Racing Drone Overview
The Vivitar VTI FPV Duo Camera Racing Drone (DRCLS16-NOC-STK-2) is engineered for speed and agility, catering to enthusiasts of drone racing and fast-paced aerial maneuvers. This model features a dual-camera setup, potentially offering unique perspectives during flight, though specific details on camera functionality are limited.
Designed as an FPV drone, it prioritizes immersive piloting, allowing users to experience flight from the drone’s perspective. While currently discontinued in new condition, it remains available through secondary markets. It received a customer rating of 3 out of 5 stars based on 2 reviews, suggesting a mixed reception.
The “Ready to Fly” designation indicates it’s intended for immediate use upon unboxing, simplifying the setup process for beginners. This drone is suited for experienced pilots seeking an affordable entry point into the world of FPV racing, offering a blend of performance and accessibility.
Vivitar DRC-188: Basic Features
The Vivitar DRC-188 Fly View Drone is presented as a lightweight and user-friendly option, ideal for both aspiring pilots and photography enthusiasts. Marketed as a “Fly View Drone with Camera,” it’s designed for outdoor recreational use, offering a simple entry point into drone technology.
This model boasts easy-to-use remote control functionality, making it accessible to beginners. Its lightweight construction enhances portability and maneuverability, contributing to a more enjoyable flying experience. The integrated camera allows for aerial photography and videography, capturing moments from a unique perspective.
The DRC-188 is categorized as a WiFi camera drone, suggesting seamless connectivity with mobile devices for real-time viewing and control. While specific technical specifications are limited, its focus is on providing a straightforward and enjoyable drone experience for casual users and those new to the hobby.
Setting Up Your Vivitar Drone
Prepare for takeoff! This section details the initial steps: unboxing, charging both the drone and remote, correctly installing propellers, and connecting to the mobile app.
Unboxing and Component Check
Carefully unpack your new Vivitar drone! Inside the box, you should find the drone itself, the remote controller, a battery (or batteries – check your model specifics), a set of propellers (plus spares are highly recommended!), a USB charging cable, and this comprehensive user manual.
Thoroughly inspect each component. Ensure the drone body is free from any visible damage sustained during shipping. Check the propellers for cracks or bends – damaged propellers can severely impact flight performance and safety. Verify the remote controller’s buttons and joysticks move freely and respond correctly.
Confirm all listed items are present. Refer to the included parts list within the manual. Missing components should be reported to the retailer immediately. Before proceeding, familiarize yourself with the names and functions of each part. A pre-flight check begins with a complete inventory and visual inspection, ensuring a safe and enjoyable flying experience. Don’t skip this crucial step!
Charging the Drone and Remote
Proper charging is vital for optimal performance and battery longevity. Use only the provided USB charging cable and a compatible 5V/2A power adapter. Avoid using fast chargers, as they can damage the battery. The drone’s battery is typically located within the drone body, accessible via a secure compartment.
Charging indicators are key. During charging, a light on the drone and/or the charger will illuminate – typically red while charging and turning green when fully charged. Charging times vary depending on the model and battery capacity, but generally range from 60 to 120 minutes.
Don’t forget the remote! The remote controller also requires charging, usually via a separate USB port. Similar charging indicators apply. Always fully charge both the drone and remote before your first flight and before extended flying sessions. Disconnect the battery once fully charged to prevent overcharging and potential damage.
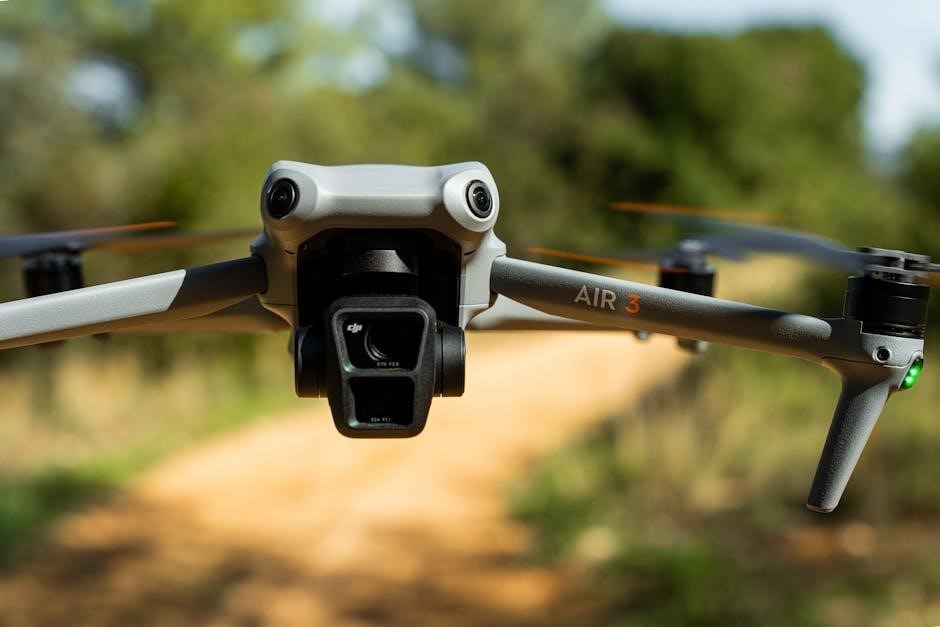
Installing the Propellers
Correct propeller installation is crucial for safe and stable flight. Vivitar drones typically utilize self-tightening propellers, but careful attention is still required. Each propeller is marked with a letter (A or B) or a specific color, indicating its designated motor position.
Match the markings! Propellers marked ‘A’ or a specific color must be installed on the corresponding motor. Incorrect installation will prevent the drone from lifting off and could cause damage. Gently press the propeller onto the motor shaft and rotate it in the direction indicated by the arrow on the propeller hub until it locks into place.
Ensure a secure fit. Verify that each propeller is firmly attached and doesn’t wobble. Before each flight, inspect the propellers for cracks or damage and replace them if necessary. Always power off the drone before installing or removing propellers;
Connecting to the Mobile App
Unlock the full potential of your Vivitar drone with its dedicated mobile app! Download the app from the App Store (iOS) or Google Play Store (Android). Ensure your smartphone or tablet meets the app’s system requirements for optimal performance. Once installed, open the app and grant it the necessary permissions, including access to your camera and location services.
Enable Wi-Fi. Turn on your Vivitar drone and power it up. Then, on your mobile device, enable Wi-Fi and connect to the drone’s Wi-Fi network. The network name (SSID) is usually found in the drone’s documentation or on a sticker on the drone itself.
Follow in-app instructions. Launch the app and follow the on-screen prompts to pair your drone with your mobile device. This process may involve entering a password or confirming a connection code. Once connected, you’ll gain access to features like live video streaming, flight controls, and settings adjustments.
Flying Your Vivitar Drone
Prepare for takeoff! Before each flight, complete a pre-flight checklist, familiarize yourself with basic controls, and understand GPS mode functionality for safe operation.
Pre-Flight Checklist
Ensuring a safe and enjoyable flight experience begins with a thorough pre-flight checklist. Prior to each takeoff, meticulously inspect the propellers for any cracks, chips, or damage. Securely attached propellers are crucial for stable flight; ensure they are firmly locked into place.
Next, verify the drone’s battery is fully charged and the remote control has sufficient power. Confirm a strong GPS signal is acquired, indicated by a solid GPS indicator light – this is vital for utilizing GPS-assisted flight modes and return-to-home functionality.
Calibrate the compass before each flight, especially if you’ve moved to a new location. Interference can affect compass accuracy, so move away from metal objects during calibration. Check the mobile app connection to ensure a stable link between your device and the drone. Finally, be aware of your surroundings – choose an open area free from obstacles like trees, buildings, and power lines. Always adhere to local drone regulations and fly responsibly!
Basic Flight Controls
Mastering the controls is key to confident drone operation. Typically, the left joystick controls altitude and rotation – pushing up increases altitude, down decreases it, left rotates the drone counter-clockwise, and right rotates it clockwise. Precise, gentle movements are recommended for smooth control.
The right joystick governs forward/backward and left/right movement. Pushing forward initiates forward flight, backward results in reverse flight, left strafes the drone left, and right strafes it right. Coordinate both joysticks for diagonal movements.
Most Vivitar drones feature auto-takeoff and landing buttons for simplified operation. Utilize these initially to become familiar with the drone’s responsiveness. Be mindful of the throttle; avoid abrupt throttle increases or decreases. Practice in an open area to build muscle memory and refine your control skills. Remember to familiarize yourself with the emergency stop function for immediate control in unexpected situations.
Using GPS Mode
GPS mode significantly enhances flight stability and safety. When activated, the drone utilizes GPS satellites to maintain its position, even in windy conditions. This feature is crucial for beginners and provides assisted hovering. Ensure a strong GPS signal (indicated on the mobile app) before engaging GPS mode.
Return-to-Home (RTH) is a vital GPS-enabled function. In case of signal loss or low battery, the drone automatically returns to its takeoff point. Configure the RTH altitude in the app to avoid obstacles during return. Always verify the RTH altitude is sufficient for your flying environment.
GPS mode also facilitates features like Follow Me, where the drone tracks a moving subject (typically the remote controller). Understand the limitations of GPS accuracy and potential drift, especially in areas with signal interference. Regularly calibrate the compass for optimal GPS performance, following the instructions in the app.
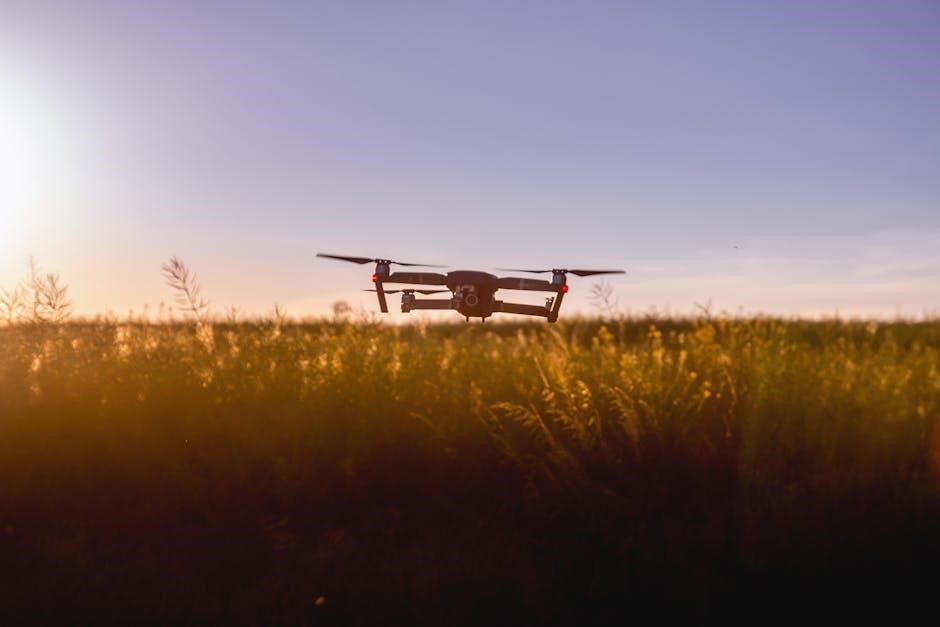
Understanding Flight Time and Range
Vivitar drone flight time varies by model. The DRCSC42-BLK-T57-2 boasts up to 18 minutes of flight, while others, like the DRC-888 and DRC-188, offer approximately 10-15 minutes. Actual flight time depends on factors like wind speed, flying style, and battery health. Avoid aggressive maneuvers to conserve battery.
Range is also model-specific and affected by Wi-Fi signal strength. Maintain a visual line of sight (VLOS) with your drone at all times, regardless of range. Obstacles like buildings and trees reduce range. The app displays signal strength and distance.
Regularly check battery levels before and during flight. Land the drone promptly when the low battery warning appears. Consider purchasing additional batteries for extended flying sessions. Remember that cold weather can significantly reduce battery performance. Always prioritize a safe landing over maximizing flight time.
Troubleshooting and Maintenance
Addressing common issues ensures optimal performance. Regularly inspect propellers, check connections, and store your Vivitar drone properly to maximize its lifespan and flight capabilities.
Common Issues and Solutions
Connection Problems: Difficulty connecting to the mobile app is frequent. Ensure Wi-Fi is enabled on your device and the drone is powered on. Restart both the drone and your mobile device. Check app permissions, granting access to location and camera. If issues persist, reinstall the app.
Flight Instability: Unstable flight can stem from propeller issues. Verify propellers are correctly installed, undamaged, and securely fastened. Calibrate the drone’s sensors following the manual’s instructions; Wind can significantly impact stability; avoid flying in strong gusts.
GPS Signal Loss: Weak GPS signals affect positioning. Fly in open areas, away from tall buildings or dense trees. Ensure the GPS module is functioning correctly within the app. Recalibrate the compass if necessary.
Video Transmission Issues: Interrupted video feed often relates to Wi-Fi interference. Reduce distance between the drone and controller. Avoid obstacles blocking the signal. Update the drone’s firmware for improved connectivity.
Drone Not Charging: Confirm the charging cable is securely connected to both the drone and power source. Try a different USB port or adapter. A faulty battery may require replacement.
Drone Care and Storage
Cleaning: After each flight, gently wipe down the drone’s body with a soft, dry cloth to remove dust and debris. Avoid using liquids or harsh chemicals, which can damage the sensors and electronics. Pay particular attention to the propellers, ensuring they are clean and free of obstructions.
Propeller Maintenance: Regularly inspect propellers for cracks, bends, or other damage. Replace any damaged propellers immediately to maintain flight stability and safety. Store spare propellers in a safe place.
Battery Care: Always fully charge the battery before storage. Store batteries in a cool, dry place, away from direct sunlight and extreme temperatures. Avoid completely discharging the battery, as this can shorten its lifespan. Follow the manufacturer’s guidelines for battery storage.
Storage: When not in use, store the drone in a protective case to prevent damage during transport or storage. Ensure the drone is turned off and the propellers are removed for added safety. Keep the drone away from moisture and extreme temperatures.
Firmware Updates: Regularly check for firmware updates to ensure optimal performance and access to the latest features.